Over 30 million U.S. households grow food in containers. This shows how popular container gardening has become. You don’t need acres of land to grow your own plants.
A small balcony, patio, or sunny windowsill can become a productive garden. Container gardening for beginners is easier than you might think. You can start growing fresh herbs, colorful flowers, and tasty vegetables right where you live.
This flexible gardening method works for apartment dwellers and condo owners. It’s perfect for anyone with limited outdoor space. Your journey into gardening doesn’t require years of experience.
This guide will walk you through everything you need to know. You’ll learn how to pick the right containers. You’ll also discover how to choose the best soil.
You’ll understand what your plants need to thrive. From watering schedules to fertilizing tips, you’ll get practical advice. This guide covers everything from basil on your kitchen window to a full patio vegetable garden.
You’ll discover why millions of people love container gardening. You can join them and start your exciting gardening adventure. Let’s get started growing plants in containers today.
What is Container Gardening?
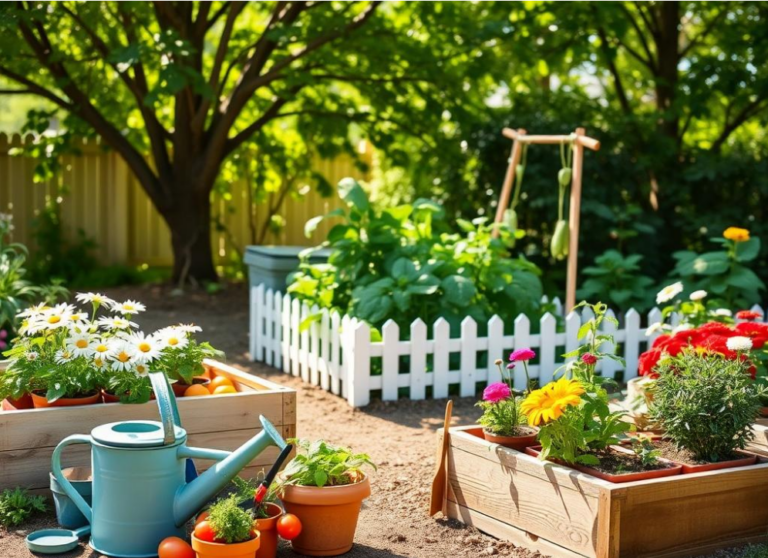
Container gardening lets you grow plants in pots, planters, and raised beds right in your yard or patio. This method works great for anyone wanting to garden without needing a large plot of land. You can grow beautiful plants even in apartments, small spaces, or limited areas.
Definition and Overview
Container gardening means growing plants in containers filled with soil instead of in the ground. You select a pot with drainage holes, fill it with quality soil, and plant your chosen vegetation. The beauty of this method lies in its simplicity and flexibility.
You control every aspect of your plants’ environment, from soil quality to moisture levels. Almost any plant can thrive in a container when given the right conditions. The key is matching your container size to your plant’s root system.
Advantages of Container Gardening
Container gardening offers numerous benefits that make it popular among beginners and experienced gardeners alike:
- Mobility – Move your plants to follow the sun or protect them from harsh weather
- Space efficiency – Perfect for urban dwellers and those with limited yard space
- Better pest control – Containers keep plants elevated and isolated from ground pests
- Reduced weeding – Container soil stays cleaner with fewer weed seeds
- Soil control – Choose exactly what soil mix your plants need
- Accessibility – Containers at waist height reduce bending and strain
Suitable Plants for Containers
Many plant varieties thrive in pots. The variety available makes container gardening exciting and rewarding.
| Plant Type | Best Varieties | Container Size | Sunlight Needs |
|---|---|---|---|
| Herbs | Basil, rosemary, thyme, parsley, mint | 6-8 inches | 6-8 hours |
| Vegetables | Cherry tomatoes, lettuce, spinach, peppers, zucchini | 10-20 inches | 6-8 hours |
| Flowers | Petunias, marigolds, impatiens, geraniums, snapdragons | 8-12 inches | 4-8 hours varies |
| Leafy Greens | Kale, arugula, chard, lettuce mixes | 8-10 inches | 4-6 hours |
Most vegetables, herbs, and flowers adapt beautifully to containers. Compact varieties work best, and you can even grow dwarf fruit trees in larger pots. This foundation prepares you to make smart choices about what to plant.
Getting Started with Container Gardening
Starting your container garden requires thoughtful planning and the right equipment. This guide covers tips to help you choose containers and gather essential tools. Proper selection creates a foundation for healthy, thriving plants in any space.
Before buying anything, understand what your plants need. Different plants demand different container sizes and materials. Learning these requirements ensures your garden flourishes from the start.
Choosing the Right Containers
Container size matters tremendously for plant health. Small herbs like thyme and oregano grow well in 6-inch pots. Larger vegetables such as tomatoes need at least 5-gallon containers for strong root systems.
Material selection impacts how your plants thrive. Consider these popular options:
- Terracotta pots – Breathable and attractive, but dry out quickly and break easily
- Plastic containers – Lightweight, affordable, and retain moisture well
- Ceramic pots – Beautiful and durable, yet heavier to move around
- Fabric grow bags – Excellent drainage and promote air pruning for healthier roots
Drainage holes are non-negotiable. Without proper drainage, water collects around roots and causes rot. Every container you choose must have drainage holes at the bottom.
| Plant Type | Container Size | Best Material | Depth Needed |
|---|---|---|---|
| Herbs (basil, thyme) | 6-8 inches | Terracotta or plastic | 6-8 inches |
| Lettuce and greens | 10-12 inches | Plastic or fabric bags | 8-10 inches |
| Tomatoes | 5 gallons minimum | Fabric grow bags or plastic | 12+ inches |
| Peppers | 3-5 gallons | Ceramic or plastic | 10-12 inches |
| Flowering plants | 8-12 inches | Terracotta or ceramic | 8-10 inches |
Essential Tools for Container Gardening
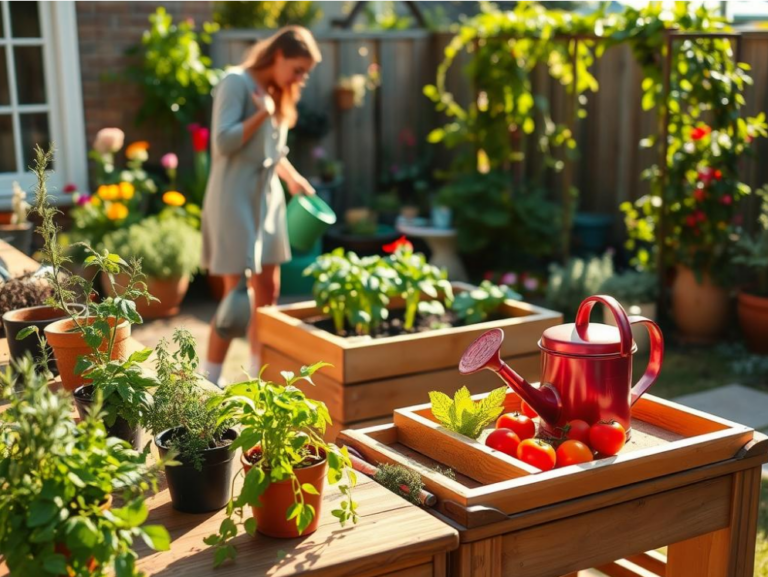
You don’t need expensive equipment to grow a successful container garden. These basic tools form the foundation for beginners:
- Quality trowel – Perfect for planting and transplanting seedlings into containers
- Watering can or hose – Choose one with a gentle spray nozzle to avoid damaging delicate plants
- Hand pruners – Essential for trimming growth and harvesting vegetables and herbs
- Gardening gloves – Protect your hands from soil and sharp edges
- Small rake or cultivator – Loosens compacted soil and removes weeds
- Measuring cups or scoops – Ensures accurate fertilizer application for healthy growth
Start with these fundamental tools. As your skills grow, you may add specialized equipment. Quality basic tools serve you well for years and make gardening more enjoyable.
“The best container gardening tips often come from starting simple and building knowledge over time.”
With your containers selected and tools gathered, you’re ready to move forward. The next section explores choosing the right soil to support your plants’ growth.
Selecting the Best Soil for Your Plants
The soil you choose plays a vital role in your container gardening success. Container plants need special growing medium with proper drainage, aeration, and nutrients. Your soil selection directly affects how well plants grow and thrive.
Understanding potting mix differences helps you make the right choice. Each plant type has unique soil needs for optimal growth.
Types of Potting Mixes
Regular garden soil is not suitable for container gardening plants. Garden soil compacts too easily in pots and restricts water drainage. It can also carry harmful diseases.
Instead, use commercial potting mixes made specifically for containers. These mixes provide the right balance for healthy plant growth.
Most potting mixes contain these key ingredients:
- Peat moss or coconut coir for water retention
- Perlite or vermiculite for drainage and air pockets
- Compost for slow-release nutrients
You’ll find two main types of potting mixes available:
| Mix Type | Best For | Key Features |
|---|---|---|
| Soilless Mixes | Most container gardening plants, vegetables, flowers | Lightweight, excellent drainage, disease-free |
| Soil-Based Mixes | Large shrubs, long-term plantings | Heavier, retains moisture longer, more nutrients |
Vegetables generally prefer richer mixes with more nutrients. Succulents and cacti need fast-draining formulas to prevent root rot.
Soil Additives to Consider
Customizing your potting mix enhances results for different plants. Consider adding these amendments based on your specific needs:
- Compost or worm castings – adds slow-release nutrients
- Extra perlite – improves drainage in wet climates
- Coconut coir – increases water retention for hot weather
- Limestone – adjusts soil pH for specific plants
- Slow-release fertilizer granules – feeds plants over time
Selecting the right soil foundation gives your plants proper support. Your container gardening plants will flourish throughout the growing season.
Sunlight Requirements for Container Plants
Light is one of the most important factors for growing healthy plants in containers. Proper sunlight makes the difference between thriving plants and struggling ones. Your container garden needs correct light exposure to produce strong growth, vibrant flowers, and tasty vegetables.
Understanding your space’s light conditions is the first step toward successful container gardening at home.
Understanding Sunlight Needs
Plant labels usually describe light needs using three main categories. Full sun means your plants need six to eight hours of direct sunlight each day. Sun-loving plants like tomatoes, peppers, and most flowering annuals require this level of brightness.
Partial sun or partial shade works for plants that thrive with three to six hours of direct light. Many herbs like parsley and cilantro grow well in these conditions. Full shade describes spaces with less than three hours of direct sun—perfect for leafy greens and shade-tolerant flowers.
Your home’s window direction affects light levels throughout the day. South-facing windows provide the brightest, warmest light for most of the day. East and west-facing windows offer moderate light that changes as the sun moves.
North-facing windows receive the least direct sunlight, making them ideal for shade plants. Take time to observe your spaces at different times to understand your lighting patterns. This knowledge helps you select the right plants for each location.
Arranging Pots for Optimal Light
Smart placement of your containers makes a real difference in plant health. Try these practical strategies:
- Group plants with similar light needs together in the same area
- Use reflective surfaces like mirrors or white walls to bounce light toward your containers
- Rotate containers weekly so all sides receive equal sun exposure
- Position heat-loving plants near warm walls that absorb and release warmth
- Place shade-seeking plants under taller plants or structures for protection
Grow lights become essential where natural light is limited. LED grow lights work well for most houseplants and use less energy than older bulb types. Position lights four to six inches above your plants and run them for twelve to sixteen hours daily.
This setup creates the conditions your plants need to succeed indoors. Adjusting light and pot placement throughout the seasons keeps your container garden productive year-round.
Watering Your Container Garden
Watering stands as the most frequent task you’ll perform in container gardening. Unlike garden beds with deep soil, your container plants depend entirely on you for moisture. Learning proper watering techniques separates thriving gardens from struggling ones.
Container soil dries out much faster than ground soil. Plants have access to a limited water supply. This reality makes understanding your watering needs absolutely critical.
Your watering schedule depends on several factors working together. Smaller containers need water more often than larger ones. Terracotta pots dry quickly because they breathe, while plastic containers hold moisture longer.
Different plants require different amounts of water—succulents need far less than leafy vegetables. Hot weather and windy days increase your plants’ water needs. Even the season matters, as plants require less water during winter dormancy.
How to Water Your Plants Properly
The golden rule of proper watering is simple: water deeply until water runs from the drainage holes. This ensures your entire root system receives moisture, not just the soil surface. Check your soil moisture by pushing your finger one to two inches deep.
If it feels dry at that depth, your plants need water.
Timing matters for your watering routine. Water your containers in early morning when temperatures are cool. This reduces water loss through evaporation and helps prevent fungal diseases.
Use room-temperature water to avoid shocking your plant roots. Drip irrigation systems and self-watering containers save time and deliver consistent moisture.
| Container Type | Drying Speed | Water Retention | Best For |
|---|---|---|---|
| Terracotta | Fast | Low | Succulents, drought-tolerant plants |
| Plastic | Slow | High | Vegetables, herbs, moisture-loving plants |
| Ceramic | Moderate | Moderate | Mixed plantings, ornamental gardens |
| Fabric/Grow Bags | Fast | Low | Root vegetables, potatoes |
Signs of Overwatering and Underwatering
Your plants communicate their water status through visible signs. Underwatered plants display wilting leaves, crispy brown edges on foliage, and stunted growth. Soil pulls away from container sides when extremely dry.
Overwatered plants show yellowing leaves, soft or mushy stems, and a foul smell from the soil. Fungal growth and root rot develop when water stays around roots too long.
Proper drainage prevents most container gardening problems. Always ensure your containers have drainage holes in the bottom. Place saucers underneath to catch water, but empty them after watering.
- Water in early morning hours
- Check soil moisture with your finger before watering
- Water until drainage appears from bottom holes
- Use room-temperature water
- Empty saucers after watering
- Adjust frequency based on weather conditions
“The most common mistake new container gardeners make is watering on a fixed schedule rather than checking soil moisture first. Each container dries at its own pace.”
Fertilizing Container Plants
Your container gardening plants depend entirely on you for their nutrition. Unlike gardens planted in the ground, container plants live in a limited space. The soil in pots holds only so much food for your plants.
Frequent watering washes nutrients away faster in containers than in garden beds. This means you need to feed your plants regularly. Regular feeding keeps them healthy and productive.
Understanding fertilizer needs helps your container gardening plants grow strong and produce well. Leafy vegetables need plenty of nitrogen for green growth. Flowering plants benefit from extra phosphorus to make more blooms.
Most container gardening plants do well with balanced nutrition. This balanced approach supports all their needs.
Types of Fertilizers to Use
You have several choices when feeding your container gardening plants. Each type works differently and offers different benefits for your growing setup.
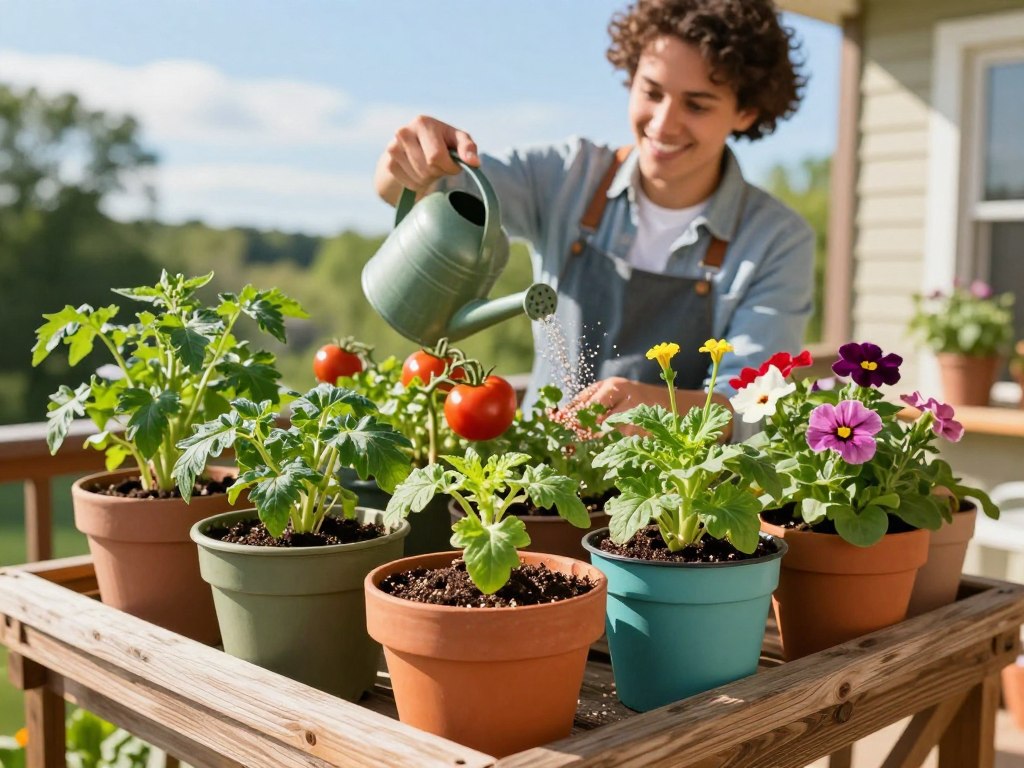
- Water-soluble fertilizers like Miracle-Gro mix into your watering can and feed plants quickly. Your container gardening plants absorb these nutrients fast through their roots and leaves.
- Slow-release granular fertilizers such as Osmocote release nutrients slowly over three to six months. You mix them into soil when planting or sprinkle them on top of established container gardening plants.
- Liquid organic fertilizers including fish emulsion and seaweed extract provide gentle, natural feeding. These work well for sensitive container gardening plants and produce safe vegetables.
- Compost tea gives your container gardening plants a nutrient boost using organic matter steeped in water.
Look at the three numbers on fertilizer packages. These show the NPK ratio. The first number is nitrogen, which builds leafy growth.
The second is phosphorus, which strengthens roots and flowers. The third is potassium, which improves overall plant health.
| Fertilizer Type | Best For | Application Method | Nutrient Release |
|---|---|---|---|
| Water-Soluble | Fast-growing container gardening plants | Mix with water and apply weekly | Immediate |
| Slow-Release Granular | Container gardening plants needing steady feeding | Mix into soil or sprinkle on top | 3-6 months |
| Liquid Organic | Vegetable and herb container gardening plants | Dilute and water in every 2-3 weeks | Quick to moderate |
| Compost Tea | All container gardening plants seeking organic boost | Steep compost and apply as liquid | Moderate |
Frequency of Fertilization
Your container gardening plants need feeding on different schedules depending on what you grow. Fast-growing vegetables and annual flowers want weekly feeding with diluted water-soluble fertilizer. Herbs need less attention and do well with feeding every two to three weeks.
Slow-release fertilizers work for the entire growing season without extra applications.
Under-fertilizing works better than over-fertilizing your container gardening plants. Too much fertilizer causes salt buildup in soil and burns plant roots. Watch your plants for signs of hunger like pale leaves or slow growth.
“Feed your container plants on schedule to see vigorous growth and abundant harvests throughout the season.”
Starting light and increasing as needed keeps your container gardening plants happy and healthy. Most gardeners find weekly feeding works well for active growing seasons.
Choosing the Right Plants for Containers
Picking the best container gardening plants for your space makes all the difference. Your choice depends on your climate, available sunlight, and personal goals. Fresh herbs for cooking, beautiful flowers for your patio, or vegetables for your table—containers offer endless options.
The right selections will grow well in pots. They give you amazing results throughout the growing season.
Best Herbs for Container Gardening
Herbs are excellent container gardening plants for beginners. These plants stay compact and need little fuss. Most herbs adapt well to pot life and grow quickly.
- Basil loves warmth and rewards frequent harvesting with bushy growth
- Rosemary tolerates dry soil and lives for years in mild climates
- Thyme fits perfectly in small pots and spreads gently over the edges
- Mint grows with vigor, so keep it contained in its own pot
- Parsley accepts partial shade and produces for two seasons
- Cilantro prefers cool weather but bolts quickly in summer heat
- Oregano withstands neglect and returns year after year
- Chives tolerate shade and produce lovely purple flowers you can eat
Colorful Flowers for Your Space
Transform your outdoor area with vibrant container gardening plants that bloom throughout the season. Flowering options bring joy and beauty to patios, balconies, and entryways.
| Flower Type | Light Needs | Bloom Duration | Best Feature |
|---|---|---|---|
| Petunias | Full sun (6+ hours) | Summer to frost | Endless color choices |
| Geraniums | Full sun to part shade | Spring to fall | Handles heat well |
| Marigolds | Full sun | Summer to first frost | Keeps pests away |
| Pansies | Part sun to shade | Fall to spring | Cool-season color |
| Impatiens | Shade to part shade | Summer to frost | Blooms nonstop |
| Zinnias | Full sun | Summer to frost | Great for cutting |
| Calibrachoa | Full sun | Summer to frost | Perfect for baskets |
Vegetables that Thrive in Containers
Container vegetable gardening brings fresh produce right to your home. Many vegetables grow beautifully in pots with compact varieties. This approach works great for small spaces like apartments and balconies.
- Cherry and patio tomatoes produce abundant fruit in small spaces
- Lettuce and salad greens mature fast and need shallow soil
- Radishes grow within weeks and need minimal care
- Bush beans stay compact and produce steadily
- Peppers thrive in warmth and produce for months
- Bush or dwarf cucumber varieties fruit without spreading everywhere
- Short carrot varieties develop fully in limited soil depth
- Compact summer squash produces heavily in containers
Success comes from matching your plant choices to your pot size and location. Select varieties bred for containers rather than full-size garden types. This simple step ensures abundant harvests and thriving plants all season long.
Seasonal Considerations in Container Gardening
Your container garden changes throughout the year. Each season brings different weather, sunlight, and growing conditions. Learning how to adjust your care for each season keeps your plants healthy and productive.
You can grow fresh food and beautiful flowers year-round with the right approach.
Spring Planting Tips
Spring is the perfect time to start your container garden. Check your local frost date before planting. Cool-season crops like lettuce, peas, and spinach can go outside a few weeks early.
Wait until after the last frost to plant warm-season plants. These include tomatoes, peppers, and basil.
Start seeds indoors about 6 to 8 weeks before transplanting them outside. This gives your seedlings a strong head start. Harden them off by gradually exposing them to outdoor conditions over 7 to 10 days.
Refresh your containers before planting. Use new potting mix or add fresh compost to old soil. Spring’s moderate temperatures and longer daylight hours create ideal growing conditions.
Summer Care Strategies
Summer brings heat and faster evaporation. Your containers need water more frequently. During hot spells, you may need to water twice daily.
Check your soil regularly by sticking your finger about an inch deep. Protect plants from intense afternoon sun with shade cloth. Mulch the soil surface with bark chips or straw to keep roots cool.
- Deadhead spent flowers to encourage more blooms
- Watch for pests that thrive in warm weather
- Provide good air circulation around containers
- Feed plants every two weeks with liquid fertilizer
Fall and Winter Prep
Prepare your containers as temperatures drop. Plant cold-hardy vegetables like kale, cabbage, and Brussels sprouts. Add cool-season flowers such as pansies and ornamental kale for color during gray months.
Protect tender perennials before the first frost arrives. Move containers to sheltered locations against walls or fences. Wrap pots with bubble wrap to insulate roots from freezing temperatures.
Bring tropical plants indoors before any frost.
| Season | Best Plants | Watering Needs | Key Tasks |
|---|---|---|---|
| Spring | Lettuce, peas, basil, tomatoes | Moderate | Start seeds, harden off seedlings, refresh soil |
| Summer | Peppers, eggplant, herbs, zucchini | High (twice daily) | Mulch, shade cloth, deadhead, feed plants |
| Fall | Kale, cabbage, pansies, mums | Moderate | Plant cool-season crops, protect tender plants |
| Winter | Ornamental kale, evergreens, hardy perennials | Low | Insulate pots, bring plants indoors, reduce watering |
Understanding seasonal changes keeps your garden productive and beautiful all year long. Match your care to the season for thriving containers. Monitor weather forecasts and adjust your routine as needed.
Maintaining Your Container Garden
Keeping your container garden healthy doesn’t need to be complicated. Easy container gardening relies on simple, consistent care routines that catch problems early. Check your plants every few days to spot wilting leaves, yellowing foliage, or pest damage.
Your maintenance tasks are straightforward and fit easily into your schedule. Regular care keeps your plants productive and beautiful throughout the growing season.
Regular Inspection and Maintenance
Start by walking around your containers every couple of days. Look for these important signs:
- Wilting or drooping stems (your plants need water)
- Yellow or brown leaves (check your watering and nutrients)
- Weak, thin growth (a sign of insufficient light)
- Dead or damaged foliage (remove these parts)
Easy container gardening includes these essential maintenance tasks:
- Deadhead flowers by removing spent blooms to encourage more flowers
- Prune dead leaves to improve air circulation around your plants
- Pinch back herbs to create bushier, fuller growth
- Rotate containers weekly so all sides get equal sunlight
- Add fresh compost mid-season to boost nutrients
- Stake tall plants like tomatoes to prevent damage
These simple steps take just minutes. They make a big difference in plant health.
Pest Control in Container Gardens
Container gardens typically have fewer pest problems than ground gardens. This is great news for beginners. You can handle insects quickly when they do appear.
| Common Pest | What to Look For | Solution |
|---|---|---|
| Aphids | Tiny green bugs on stems and leaves | Spray with strong water or insecticidal soap |
| Spider Mites | Speckled or stippled leaves | Apply neem oil spray |
| Whiteflies | Tiny white insects flying around plants | Use yellow sticky traps |
| Slugs and Snails | Holes in leaves and slime trails | Hand-pick or set beer traps |
| Caterpillars | Holes and droppings on foliage | Hand-pick or use Bt spray |
Inspect your plants regularly during your watering routine. This habit keeps easy container gardening manageable and helps you spot pest damage. Early action prevents small problems from becoming big ones.
Creative Container Garden Layouts
Transform your growing space into a beautiful display by thinking beyond traditional ground-level pots. Creative container gardening ideas help you maximize space while creating eye-catching designs. These arrangements impress visitors and boost your harvests at the same time.
These layout strategies work perfectly whether you live in a small apartment or have limited yard space. You can turn any area into a thriving garden with the right approach.
The key to successful container arrangements is understanding how to use vertical space. Combining plants thoughtfully makes your garden both productive and beautiful. Your garden can become a work of art while producing fresh herbs, vegetables, and stunning flowers.
Vertical Gardening Ideas
Growing upward instead of outward opens exciting possibilities for creative container gardening ideas. Vertical gardening is perfect when floor space feels limited. These practical approaches help you make the most of your space.
- Install trellises directly into large containers for climbing plants like pole beans, cucumbers, and morning glories
- Stack tiered planters to create living walls that draw the eye upward
- Hang pocket planters on fences or walls using fabric organizers with multiple planting pockets
- Build tower gardens with planting holes at different levels for herbs and small vegetables
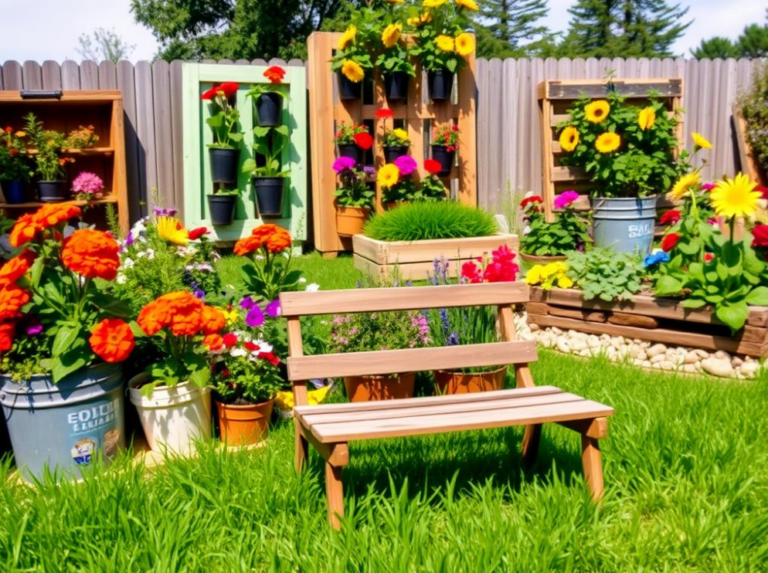
- Repurpose wooden pallets into vertical herb gardens by filling the spaces between slats
- Use ladder shelves to display multiple small pots in an organized, attractive way
Vertical arrangements dramatically increase your planting area while creating stunning focal points. A climbing vine-covered trellis becomes the star of your outdoor space. Colorful living walls add beauty and function to any garden.
Mixing Plants for Visual Appeal
Create beautiful containers using the thriller, filler, spiller principle. This design method combines three plant types in one container for maximum visual impact. The result is a professional-looking arrangement that catches every eye.
| Plant Type | Purpose | Examples |
|---|---|---|
| Thriller | Tall, dramatic centerpiece | Spike plants, ornamental grasses, upright flowers |
| Filler | Adds fullness and color around the thriller | Petunias, coleus, herbs like basil |
| Spiller | Cascades over container edges | Trailing petunias, sweet potato vine, creeping jenny |
Beyond this formula, consider your color choices carefully. Complementary colors create vibrant contrast that energizes your space. Analogous colors produce harmonious, calming combinations that soothe the eye.
Mix textures by pairing delicate foliage with bold, broad leaves for visual interest. Different leaf shapes and sizes add depth to your containers. This layering technique makes even simple plantings look professional.
Combine edible plants with ornamental varieties for containers that are both beautiful and productive. Fresh basil growing alongside purple flowers creates stunning visual appeal. Cherry tomatoes climbing a trellis with flowering morning glories showcase how creative container gardening ideas blend style with function.
Troubleshooting Common Container Gardening Issues
Problems will happen as you start container gardening. Plants get sick, bugs show up, and growth slows down. Most issues have simple fixes that work quickly.
Understanding what’s wrong helps you save your plants. You’ll grow better crops next time. This guide walks you through common problems and their solutions.
Dealing with Pests and Diseases
Pests and diseases are part of growing plants in containers. Spotting them early makes all the difference. Quick action saves your garden from bigger problems.
Common problems include powdery mildew, which looks like white powder on leaves. Root rot kills plants when soil stays too wet. Both spread fast if you don’t act.
The best approach uses several strategies at once. Start with prevention to stop problems before they start. This saves time and keeps plants healthy.
Keep good air flow around your plants. Remove dead leaves right away. Water only the soil, not the leaves.
Try natural solutions first when problems appear:
- Introduce helpful bugs like ladybugs that eat pests
- Plant marigolds and nasturtiums to repel insects
- Use row covers to shield young plants
- Spray neem oil or insecticidal soap on affected areas
- Remove infected plant parts immediately
Chemical pesticides work as a last resort. They work quickly but harm helpful insects. Natural methods are safer for your garden and the environment.
Solutions for Poor Plant Growth
Sometimes plants live but don’t thrive. Stunted growth usually means roots need more space. Plants might lack nutrients or not get enough light.
| Problem | Cause | Solution |
|---|---|---|
| Stunted Growth | Root-bound conditions or nutrient deficiency | Move to larger container or fertilize more often |
| Yellowing Leaves | Overwatering or nitrogen deficiency | Let soil dry between waterings or add nitrogen fertilizer |
| Leggy, Stretched Plants | Insufficient light | Relocate pots to brighter location |
| No Flowers or Fruit | Too much nitrogen, poor light, or wrong temperature | Reduce nitrogen, increase light, or adjust temperature |
Learn to read your plants like a book. Yellow leaves speak to you about water problems. Weak stems tell a story about light needs.
Keep notes about what works in your space. Your container garden is unique, and your solutions will be too. This experience builds confidence and makes you a better gardener.
Harvesting and Enjoying Your Container Garden
After weeks of caring for your container vegetable gardening setup, the moment arrives to pick and eat what you’ve grown. Harvesting at the right time makes your vegetables taste better and keeps your plants producing more food. Learning the proper techniques helps you get the most from your efforts.
When and How to Harvest
Pick herbs in the morning after the dew dries but before the heat gets strong. This timing gives you the best flavor. Remove up to one-third of the plant at once.
This cutting method makes plants grow bushier and stops them from flowering too soon. Leafy greens like lettuce and arugula work great with the “cut and come again” method. Harvest the outer leaves while leaving the center growing part untouched.
Your plants keep producing new leaves for weeks. Use clean, sharp scissors or pruners to cut without damaging the plants. Tomatoes should be picked when they are fully colored and feel slightly soft.
Peppers can be harvested green or left on the plant to turn red, yellow, or orange for a sweeter taste. Beans and peas taste best when you pick them young and tender.
Recipes and Ideas for Using Your Homegrown Produce
Your container vegetable gardening harvest opens up many delicious cooking options. Make a fresh caprese salad by combining ripe tomatoes, fresh basil, and mozzarella cheese. Create herb-infused oils and vinegars using your homegrown basil, oregano, and thyme.
Blend fresh basil into pesto for pasta dishes. Use your container-grown lettuce in daily salads. Stir-fry your peppers and beans with garlic for a quick dinner.
Herb butters offer another great way to use your harvest. Mix soft butter with chopped herbs, freeze it in ice cube trays, and use the cubes throughout the year. The flavors from your garden beat anything you can buy at the store.
Your container vegetable gardening efforts reward you with taste and freshness that makes every bit of work worthwhile. This success will inspire you to grow food again in seasons to come.