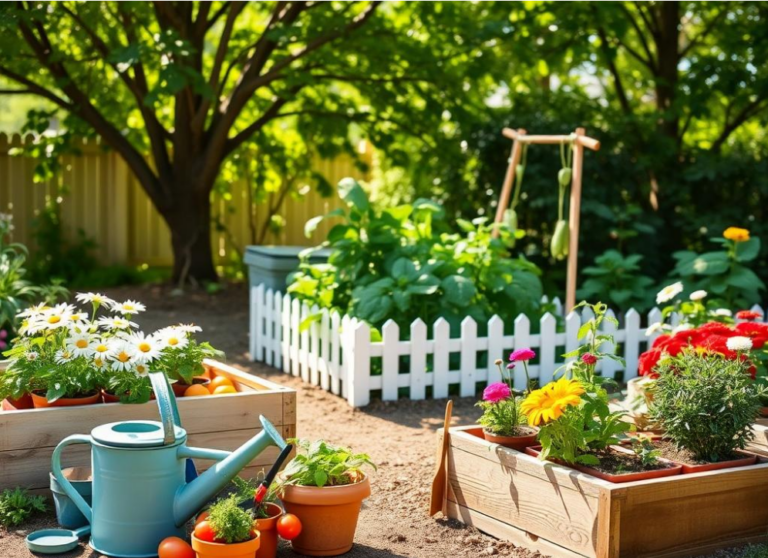
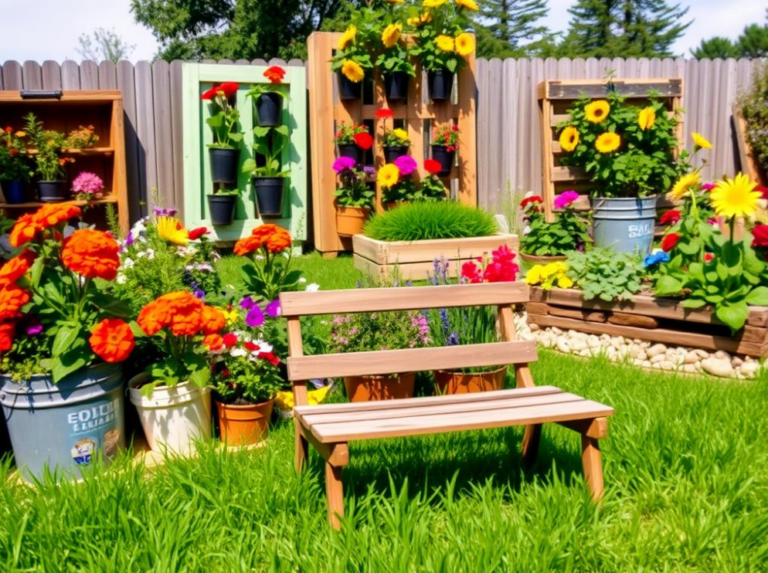
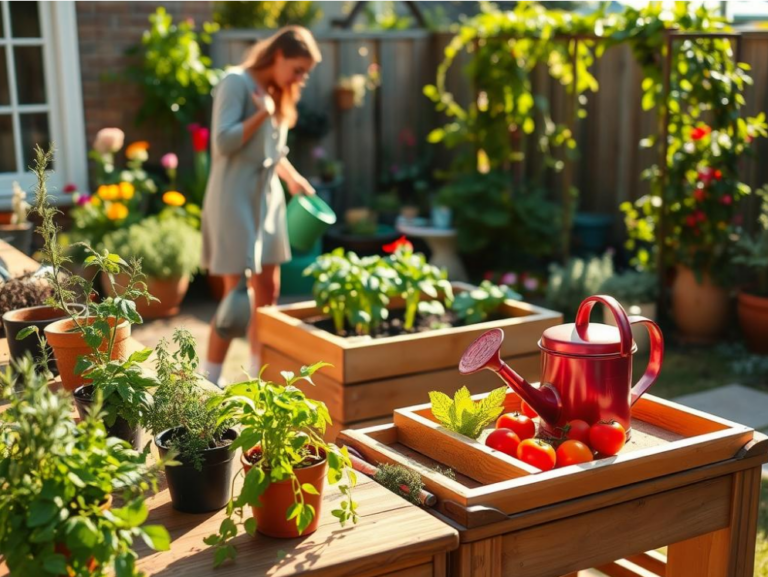
Nearly 40% of U.S. households have grown food at home in the last five years. This shows that making a DIY garden bed is popular. It helps save money and eat fresher.
This guide will teach you to build a garden bed step by step. You can make a beginner-friendly raised garden bed in just one weekend. You’ll learn about building, choosing materials, soil mix, and how to plant and maintain it.
The guide is friendly and practical for U.S. homeowners and renters. Many simple raised beds are easy to make in a weekend. Container and balcony options can take even less time. Costs vary from budget DIY to higher-end materials, and this guide will help you find what fits your needs.
Why Build a Garden Bed at Home
Building a garden bed at home makes gardening easier and more fun. You can control the soil, drainage, and where you plant. Raised beds also reduce bending, making it easier for those with mobility issues.
Benefits for beginners and experienced gardeners
For beginners, a well-made bed means fewer weeds and clearer results. You can start small and learn quickly without spending a lot of time or money.
For experienced gardeners, it’s about finer control over soil and plant placement. Adjustable beds and clear borders help with larger crop rotations and protect roots.
Health and wellness advantages of homegrown produce
Eating vegetables you grow boosts your nutrient intake and makes meals taste better. Homegrown produce has better flavor and less pesticide exposure.
Gardening is a form of exercise and can lower stress. The act of planting, watering, and caring for herbs or tomatoes supports mental health and a healthier lifestyle.
Space-saving options for small yards and balconies
If you have little outdoor space, small space gardening offers many solutions. Narrow raised beds, balcony boxes, and window planters fit into tight spots while still being productive.
Container gardening and vertical systems allow you to stack plants and use trellises. This increases yield per square foot. Lightweight soil mixes and self-watering containers are great for balconies with weight limits and building rules.
| Gardener Type | Ideal Bed Option | Main Benefit |
|---|---|---|
| Beginner | Small raised bed or container gardening | Simple setup, low weed pressure, easy learning curve |
| Experienced | Deep raised bed with modular sections | Better crop rotation, soil amendment control |
| Apartment dweller | Balcony planters and vertical boxes | Maximizes yield in tiny footprints, supports small space gardening |
| Health-focused | Herb boxes and mixed vegetable beds | Fresh flavors, homegrown produce benefits, reduced pesticide exposure |
Planning Your DIY garden bed
Before you start, take a moment to plan your garden bed. A good plan saves time and money. Think about sunlight, access, and what you want to grow. Small decisions now shape your harvests later.
Choosing the right location and sunlight needs
Watch the spot for a few days to see the sun patterns. Full sun means six or more hours of direct light. Partial sun or shade is best for many herbs and leafy greens.
Place the bed near a water source if possible. This makes daily care easier. Avoid planting under large trees because their roots compete for moisture and nutrients.
Check for wind exposure and microclimates. South-facing sites warm up earlier in spring. A wall or fence can protect tender plants and extend your growing season.
Deciding on bed size based on accessibility and harvest goals
Choose widths that let you reach the center from either side. A 4-foot width is good for most raised beds. For narrow spaces or balconies, 2 to 3 feet is better.
Match the bed height to your crops. For herbs and annuals, 6 to 12 inches is enough. For vegetables and better drainage, aim for 12 to 24 inches or more.
Plan paths wide enough for a wheelbarrow and tools. Think about what you want to harvest. Salad greens need less space than heavy feeders like tomatoes, so scale your garden bed size to your yield goals.
Budgeting and timeline expectations
Set a realistic garden budget before buying materials. Low-cost recycled options can cost $20–$50 per bed. Mid-range choices using cedar or untreated lumber often cost $50–$200. Stone or metal builds usually start around $200 and up.
Expect site prep and frame assembly to take a day for a single bed. Filling the bed with soil and planting can take another day. Add extra time for delivery, lead times, or seasonal planting windows.
Include a small contingency in your garden budget for unforeseen needs like extra soil or fasteners. This keeps the project moving without surprises.
Selecting Materials for a Simple Garden Bed
Choosing the right materials for your garden bed is key. It affects how it looks, lasts, and what grows well. You can find a balance by comparing wood, metal, stone, and recycled options. Here are some tips to help you choose the best for your space and budget.
Common materials: wood, metal, stone, and recycled options
Wood gives a warm, natural look. Cedar and redwood resist rot and smell nice. Pine is cheaper but needs to be replaced sooner.
Corrugated metal has an industrial look and lasts long. It gets hot in the sun, which is good for some crops. Concrete blocks and stone are strong and easy to care for but cost more and are hard to install.
Reclaimed lumber, pallets, and other recycled materials save money and add charm. Check them for rot, nails, or contaminants before using. A well-chosen recycled option can look great and reduce waste.
Pros and cons of treated vs. untreated wood
Untreated cedar and redwood are popular for vegetable beds. They naturally resist decay and are safe for planting against.
Treated wood includes modern options like pressure-treated lumber. New treatments are safer than old ones. Always check the treatment type and follow EPA guidelines. If you’re cautious, line the interior with landscape fabric before adding soil.
If using reclaimed wood, add a barrier between the wood and soil if unsure of its origin. This protects your plants and extends the frame’s life.
Where to source affordable materials locally and online
Big-box stores like Home Depot and Lowe’s have cedar boards, pressure-treated planks, metal panels, and concrete blocks. They have sales and offer delivery for big items.
Local lumberyards often have better-quality or specialty woods and can cut boards to size. Habitat for Humanity ReStore is a good place for reclaimed pieces at low cost. Check Craigslist and Facebook Marketplace for used frames, pallets, and surplus materials near you.
When buying, check boards for straightness and that metal panels are rust-free. Make sure stones are sound. Look for warped or soft spots that shorten lifespan.
| Material | Appearance | Durability | Cost | Best use |
|---|---|---|---|---|
| Cedar | Warm, natural | High (rot-resistant) | Moderate to high | Vegetable beds, long-lasting frames |
| Pine (untreated) | Natural, plain | Low to moderate | Low | Short-term beds, budget projects |
| Pressure-treated lumber | Functional, common | High | Moderate | Durable frames; use liner for edibles |
| Corrugated metal | Industrial | Very high | Moderate | Long-lasting beds, decorative edges |
| Concrete/stone | Solid, permanent | Very high | High | Permanent terraces and heavy-duty beds |
| Recycled garden materials | Varied, characterful | Varies by item | Low | Eco projects, budget builds |
Tools You’ll Need
Starting your raised bed project right means having the right tools. A set of garden bed tools helps you measure, cut, and shape the site. This ensures your frame is square and your soil works well.
Below, we list basic tools, power tools, and safety tips. These will keep your tools working well for many seasons.
Basic hand tools for beginners
Begin with a tape measure, level, and carpenter’s square. These tools help you make accurate corners. A handsaw or circular saw is needed to cut boards to size.
For fastening, use a hammer and a cordless drill/driver. Don’t forget heavy-duty gloves to protect your hands.
These tools are essential for preparing the site and assembling the bed. They help keep costs down and ensure a sturdy, square build.
Optional power tools that speed up the job
Power tools like drill/drivers and impact drivers save time. They make fastening easier and handle lag screws well. A circular saw or miter saw makes quick, accurate cuts.
Cordless oscillating tools are great for tight spaces and trims. An electric auger makes mixing soil easier, perfect for filling multiple beds or blending amendments. Power tools can speed up your project, but they need practice and care.
Safety gear and maintenance tips for your tools
Always wear safety glasses to protect your eyes. Use hearing protection when using saws or impact drivers. A dust mask is important when cutting treated wood or sanding.
Keep blades and driver bits sharp and clean. Rinse hand tools after use, oil moving parts, and store them dry to prevent rust. Regularly check electrical cords and battery health to avoid failures.
Preparing the Site
Before starting, plan how to prepare your garden site. A clean start saves time and keeps plants healthy. Follow these steps to clear grass, fix drainage, and mark the bed area.
Clearing grass, weeds, and debris
Use a shovel or sod cutter to remove sod. This stops roots from growing back. Pull out perennial weeds by their roots and remove stones and old concrete.
Use a tarp to collect debris. Put organic matter in a compost pile if you can. This makes clearing the area fast and keeps it clean.
Improving soil drainage and addressing sloped sites
Test drainage by digging a small hole and filling it with water. If water stays for over six hours, consider raised beds or add gravel. This improves drainage.
On sloped ground, build a berm or tiered beds. This reduces erosion and makes planting areas flat. Use landscape fabric or geotextile to keep soil and fill layers separate.
Marking the footprint and checking for underground utilities
Use stakes and string or spray paint to mark the bed area. Check the perimeter for obstructions like irrigation lines or roots.
Call 811 in the United States to mark underground lines. This protects you and ensures your garden doesn’t hit cables or pipes.
| Task | Tools or Materials | Why it Matters |
|---|---|---|
| Remove sod and weeds | Shovel or sod cutter, tarp, gloves | Prevents regrowth and creates a clean planting base |
| Improve drainage | Gravel (4–6 in), landscape fabric, raised bed frame | Stops waterlogging and extends root health |
| Manage slopes | Timber or stone for berms, tiered bed materials | Controls erosion and creates level planting areas |
| Mark footprint | Stakes, string, spray paint, measuring tape | Ensures correct size and placement before construction |
| Check utilities | 811 call, flags or paint from utility locators | Prevents dangerous strikes and protects infrastructure |
Building the Frame
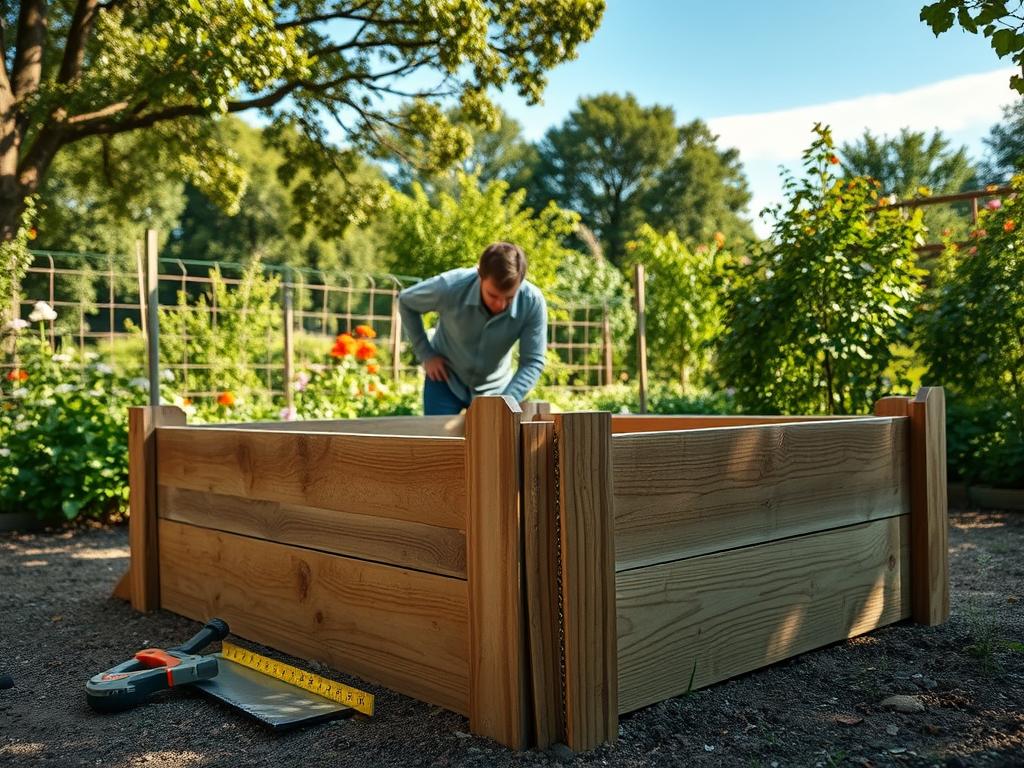
Start with a clear plan and simple measurements before you build your raised garden bed. A 4×4 foot layout is great for beginners. You’ll need lumber, fasteners, a drill, a carpenter’s level, and simple hardware. Make sure the steps are short and steady for a smooth build.
Step-by-step assembly for a beginner-friendly raised bed
Cut lumber to size: mark and saw four side boards and, if using posts, cut two or four corner posts to match the bed height. Place side boards on a flat surface to check fit.
Pre-drill screw holes to prevent splitting, then join corners with exterior-grade screws or galvanized hardware. For a 4×4 foot bed, align boards so the inside dimensions meet your planting plan.
You can use pallet slats or concrete blocks as alternatives for faster builds. Pallet or block assembly can reduce cutting and complex joinery while still giving a sturdy frame.
Fastening techniques for durability
Choose stainless steel, galvanized, or coated exterior screws to resist corrosion where moisture and soil meet wood. For 2×6 boards use 2.5–3 inch deck screws for secure fastening.
For larger beds, add corner posts of 2×2 or 4×4 and fasten with through-bolts or lag screws to increase longevity. Corner brackets give added stiffness if you prefer ready-made hardware.
Leveling and reinforcing corners
Use a carpenter’s level to check top edges as you place the frame on the site. Shim or dig to level the ground so the soil settles evenly.
Add interior stakes or cross-bracing to long sides to prevent bowing. For very long beds place center supports every 6–8 feet to maintain straight walls and even soil pressure.
| Task | Recommended Materials | Why it matters |
|---|---|---|
| Cut lumber to size | 2×6 boards, 4×4 posts | Ensures correct internal planting area and easy fit during raised bed assembly |
| Pre-drill and fasten | Stainless or galvanized 2.5–3″ deck screws | Prevents wood splitting and prevents corrosion when fastening raised bed |
| Corner reinforcement | Corner brackets, lag screws, through-bolts | Keeps corners square and withstands soil pressure over seasons |
| Leveling the frame | Carpenter’s level, shims, stakes | Guarantees even soil depth and prevents water pooling |
| Long-bed support | Interior stakes, cross-braces, center supports | Prevents bowing and extends life of your bed build |
Filling the Bed with Soil Mix
Choosing the right garden soil mix is key for healthy plants and good yields. Start by planning what you need and how to layer it. This approach keeps roots healthy, improves drainage, and cuts down on the need for frequent fertilizers.
Best mixes for vegetables, herbs, and flowers
For vegetables, a mix of topsoil, compost, and perlite or coarse sand works well. This blend drains well and holds nutrients for heavy feeders like tomatoes and peppers.
Mel’s Mix from Square Foot Gardening is great for lightweight raised beds. It’s made of one-third compost, one-third peat moss or coconut coir, and one-third vermiculite. This mix is light, retains moisture, and is perfect for herbs and annual flowers.
Check the pH before planting. Most vegetables like slightly acidic soil, around pH 6.0–6.8. Use lime to raise pH or elemental sulfur to lower it, based on your test results and crop needs.
Layering techniques for drainage and fertility
A uniform, well-mixed fill usually outperforms a layered approach. Fill most raised beds with your prepared soil blend to avoid settling and air pockets. This keeps roots in consistent growing medium.
If drainage is a problem, add a thin base layer of coarse material like small branches or wood chips only where water pools. For deep beds, compact native soil at the bottom, then add your high-quality mix on top to give roots plenty of loose medium.
Double-digging is optional. It can help loosen native subsoil, but raised beds filled with a quality garden soil mix rarely require it.
When and how to amend with compost and fertilizers
Incorporate well-aged compost for garden bed health at planting time. Mix compost into the top 4–6 inches for transplants. For established beds, top-dress with 2–3 inches of compost each spring to refresh organic matter.
Use balanced organic fertilizers based on a recent soil test. Popular options include blood meal for nitrogen, bone meal for phosphorus, and kelp for trace minerals. Apply low-analysis granular blends when tests show specific nutrient gaps.
Send a soil sample to your local Cooperative Extension for tailored nutrient and pH guidance. Their recommendations help you pick the best soil for raised beds and determine how much compost for garden bed maintenance you should add each year.
| Use | Recommended Mix | When to Amend | Notes |
|---|---|---|---|
| Vegetable beds | 1/3 topsoil, 1/3 compost, 1/3 perlite or coarse sand | At planting; annual top-dress with compost | Good drainage and fertility for heavy-feeding crops |
| Herb and flower beds | Mel’s Mix: 1/3 compost, 1/3 peat moss or coconut coir, 1/3 vermiculite | Mix at planting; light compost top-dress yearly | Lightweight, retains moisture; ideal for shallow roots |
| Deep raised beds | Native soil base topped with high-quality garden soil mix | Top layer refreshed yearly with compost | Prevents excessive settling; cost-effective for deep fills |
| Poor-drainage sites | Uniform mix with a thin base of coarse material where needed | Monitor drainage; add compost and gypsum as advised | Improve drainage without creating large empty voids |
Planting Strategies for Success
Choosing the right plants can make your garden thrive. Match your crops to your USDA hardiness zone and your yard’s microclimates. This will help your garden grow well.
Plant seasonally. For spring and fall, choose cool-season crops like lettuce, spinach, and peas. Tomatoes, peppers, and cucumbers are best in the summer. Check the days-to-maturity on seed packets to plan for continuous harvests.
Companion planting can help your garden. Plant basil with tomatoes and marigolds to fight pests. But, avoid planting brassicas and strawberries together if space is limited.
Use a spacing system to keep your plants healthy. A square-foot gardening grid is great: one big plant, four medium ones, or 9-16 small herbs per square. Follow the spacing on nursery tags if unsure. Train vining plants up trellises to save space and improve air circulation.
Deciding between seeds and transplants affects your budget and timing. Seeds offer more variety and save money but need indoor starts. Transplants give a head start for long-season crops and reduce early season losses.
Before planting outdoors, harden off transplants. Start in shade, then move to morning sun over a week. This helps them adjust to outdoor conditions.
| Choice | When to Use | Pros | Cons |
|---|---|---|---|
| Seeds | When you want many varieties or lower cost | More variety, lower price, direct sow for root crops | Longer time to harvest, needs indoor care for many plants |
| Transplants | For tomatoes, peppers, and when season is short | Faster harvest, easier for beginners, better survival early season | Higher cost, limited variety, potential transplant shock |
| Companion Pairing | Use throughout the bed planning | Reduces pests, maximizes space, improves yields | Requires planning and correct spacing |
Watering and Irrigation Options
Keeping your raised bed moist is key for better yields and healthier plants. You can water by hand, use a built system, or mulch to keep the soil wet. Choose what works best for you based on your schedule, budget, and what you’re growing.
Hand-watering best practices
Water deeply but not too often to encourage roots to grow. Aim for a 2–3 inch soak. Water in the morning to reduce disease risk and let the plants dry during the day.
Use a watering wand or a hose with flow control for even coverage. Check the soil’s moisture with your finger or a moisture meter. If it feels cool and damp 2–3 inches down, wait before watering again.
Installing drip systems and soaker hoses
Drip irrigation for raised beds includes drip tubing, emitters, a timer, and more. Run the mainline along the bed edge and space emitters 6–12 inches apart.
Soaker hoses are great for rows and are cheaper than drip systems. Both save water and work well with timers for easy scheduling.
Mulching to retain moisture and suppress weeds
Apply 2–3 inches of organic mulch like straw or shredded bark. Mulch reduces evaporation, evens soil temperature, and fights weeds.
Keep mulch a few inches from stems and trunks to avoid rot. For heavy weeds, black plastic or landscape fabric can help, but they limit soil life and water infiltration.
| Method | Pros | Cons | Best Use |
|---|---|---|---|
| Hand-watering | Low cost, precise control, good for seedlings | Time-consuming, inconsistent without routine | Small beds, spot watering, new transplants |
| Drip irrigation | Water-efficient, automated, delivers at root zone | Higher initial cost, needs filter and pressure control | Raised beds, mixed plantings, busy gardeners |
| Soaker hoses | Inexpensive, easy to install, good for rows | Prone to clogging, uneven flow if not laid correctly | Vegetable rows, low-maintenance plots |
| Mulch (organic) | Retains moisture, builds soil, suppresses weeds | Requires replenishing, can hide slugs if overdone | All beds for long-term soil health |
| Plastic/landscape fabric | Strong weed suppression, reduces evaporation | Blocks soil life, reduces water penetration, less eco-friendly | Seasonal vegetable areas where weeds dominate |
Pest Management and Maintenance
Keeping your garden bed productive requires regular attention to pests and basic care. A simple routine makes managing pests easy and helps your plants grow well. Always use organic pest control methods first. This protects good insects and keeps the soil healthy.
Common pests and organic control methods
Aphids, slugs, snails, tomato hornworms, flea beetles, and cutworms are common pests. Start by checking your garden weekly and removing big pests like hornworms by hand. Use diatomaceous earth around seedlings to keep away soft-bodied pests.
Copper tape can keep slugs and snails away. For caterpillars on brassicas and tomatoes, use Bacillus thuringiensis (Bt). Treat small, soft-bodied pests with insecticidal soap or neem oil.
Plant flowers like calendula and borage to attract beneficial insects. Use floating row covers to protect young seedlings while they grow strong.
Routine maintenance: pruning, deadheading, and weeding
Set aside time each week for weeding, inspecting leaves, and removing diseased leaves. Pull weeds when they’re small to prevent them from competing with your plants and attracting pests.
Prune plants that are too crowded to improve air flow and prevent fungal diseases. Remove spent flowers to make plants focus on growing more fruit or roots.
Support indeterminate tomatoes with stakes or cages. Pinch leggy seedlings and thin transplants to give them enough space. This makes them stronger and less appealing to pests.
Seasonal tasks to keep your bed productive year-round
In spring, test your soil, refresh your compost, and plant cool-season crops. Start preparing your beds early so roots can grow before pests become a problem.
In summer, mulch to keep the soil moist and reduce weeds. Look for pest hotspots and water deeply in the morning to prevent disease.
In fall, harvest your crops, remove spent plants, and add compost. Plant cover crops like clover or rye to prevent erosion and improve soil health.
In winter, protect your beds with cold frames or row covers in colder areas. This extends the growing season and prevents root damage. Regular care throughout the year keeps your garden healthy and pest-free.
Enhancing and Expanding Your Garden Bed
Once your first raised bed is thriving, you can make it even better. Small changes can increase its size and beauty. Think about adding height, timing, and new materials.
Vertical gardening additions and trellises
Save space by growing vines up. Use trellises, A-frames, and tomato cages for peas, beans, and cucumbers. Bamboo stakes are good for light plants, while metal panels are durable.
PVC frames are affordable and easy to shape. Make sure supports are stable by attaching them to the bed or ground stakes. For extra stability, use concrete footings for deep-rooted plants.
Interplanting and succession planting to maximize yields
Plant different crops at different times for a steady harvest. Put quick-growing plants like radishes between slower ones. Replace radishes with basil or fall greens when they’re done.
Planting compatible species together can save space and reduce pests. Try carrots with onions or marigolds with tomatoes. Here’s a simple plan for planting veggies:
- Early spring: plant peas and radishes.
- Late spring: transplant tomatoes and peppers; sow carrots between rows.
- Mid-summer: harvest radishes, reseed with lettuce for a fall crop.
- Late summer: sow kale or spinach for cool-season harvest.
Upgrading materials or adding more beds over time
Upgrade to cedar or composite boards as your budget allows. Cedar is durable and looks natural. Composite materials last long and need little care.
Plan new beds in a grid for easier care. Leave paths for easy access and to move things around. Consider building perennial beds for less replanting.
Think about adding a cold frame or greenhouse to extend the growing season. Reuse screws and brackets from old frames to save money and reduce waste.
Conclusion
This DIY garden bed summary shows how to create a garden in a few steps. First, pick a spot and decide on the bed’s size. Then, choose materials that last, prepare the area, and build a strong frame.
Next, fill it with good soil and plant plants that fit your climate. Keep it up by watering regularly, mulching, and using organic pest control. This way, your garden stays healthy and productive.
Building a raised bed is a weekend project that’s easy to start. You’ll get fresh veggies and feel better mentally right away. You can add more beds, supports, or irrigation as you get more confident.
Small upgrades help you grow without feeling overwhelmed. For more tips, check out local resources like your Cooperative Extension. They can help with soil tests and plant advice.
Also, look at trusted sites like the National Gardening Association and university extension pages. Places like Penn State Extension or UC Master Gardener have advice for your area. Visit a garden center to pick the right plants and get help with your project.