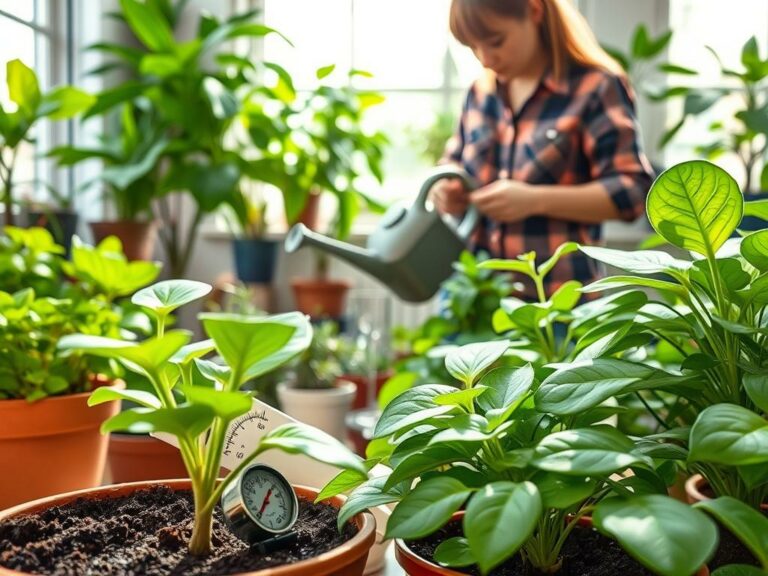
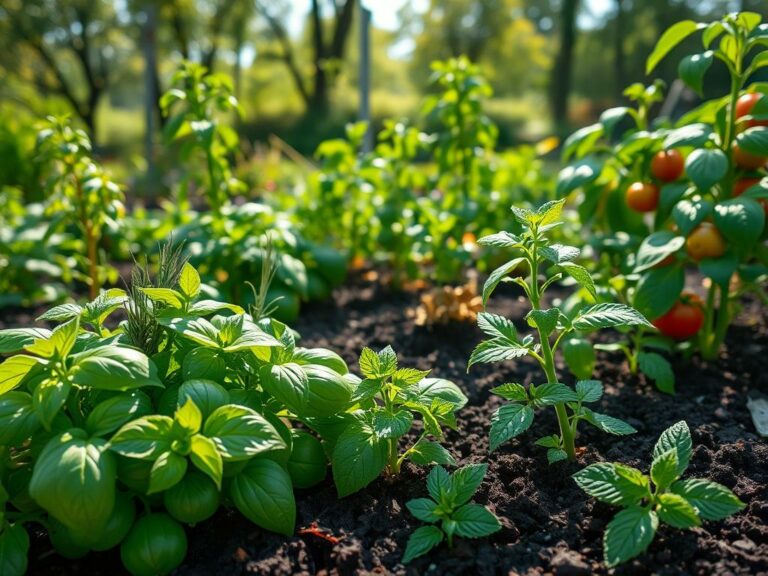
Nearly 40% of backyard vegetable losses are due to diseases not caught early. This shows how crucial it is to spot plant diseases early for gardeners.
This guide teaches you how to identify plant diseases quickly. This way, you can take action fast. Spotting diseases early means healthier plants, more yields, and saving money.
You’ll learn about visual signs of disease on leaves and stems. You’ll also learn about soil and root clues. Plus, how weather can increase disease risk. You’ll discover simple ways to monitor and when to test in a lab. And, how to tell pests from pathogens.
This article is for home gardeners and small-scale growers in the United States. It offers practical, low-cost checks. It also points you to trusted sources like Cooperative Extension services, Penn State Extension, University of California IPM, and USDA guidance.
Keep reading and apply the quick checks and routines that follow. This will help protect your plants and catch problems before they spread.
Why early plant disease identification matters for your garden
Spotting problems early saves plants and time. A small lesion can be treated before it spreads. This action protects flowers, fruit set, and the look of ornamentals.
Extension services from universities like Iowa State and Cornell say many fungal and bacterial infections spread fast. So, quick checks are worth your effort.
Impact on plant health and yield
Early action limits systemic damage and preserves vigor. For vegetables and fruit, this means more blooms reach harvest and fewer crops are lost to disease. Understanding disease impact on yield helps you prioritize which plants need immediate attention and which can be monitored.
Cost savings from early intervention
Treating a small outbreak is cheaper than large-scale remediation. A single fungicide spray or pruning a few branches costs far less than replacing beds or using heavy chemical programs. Early measures reduce the likelihood of soil replacement or repeated treatments, cutting long-term expenses.
Preventing spread to neighboring plants
Many pathogens move by water splash, windborne spores, contaminated tools, or infected transplants. Early identification and isolation break transmission chains and protect nearby plants. Think of powdery mildew racing through cucurbits or tomato blights that sweep a crop when left unchecked.
Targeted responses protect beneficial insects. Rapid, broad chemical reactions can harm pollinators and natural predators. If you identify problems sooner, you can choose focused controls that preserve bees and lacewings while still managing disease.
For community gardens and commercial growers, early detection helps avoid regulatory headaches. Fast containment of plant diseases can reduce quarantine risks and protect market access for produce destined for sale or export.
Common visual signs to watch for on leaves and stems
Spotting early signs helps you act fast. Check a few plants daily and compare new with old leaves. Look for patterns across your garden, not just on one plant.
Discoloration patterns often give the first clues. Uniform yellowing, or chlorosis, can point to nutrient shortage or a vascular disease. Interveinal chlorosis—green veins with pale tissue between—suggests iron or magnesium deficiency. Browning at leaf edges may mean salt stress, drought, or late-stage infection. Check if discoloration starts on older foliage or new shoots.
Spots and lesions tell a different story. Fungal leaf spots usually have clear margins and sometimes concentric rings, such as those seen with Septoria. Bacterial spots often show water-soaked halos and a greasy look. Necrotic areas are dead tissue; expanding, sharp margins imply an active pathogen. Check stems for stem lesions that run along the surface or form sunken cankers.
Wilting, curling, and deformation change plant posture and shape. Turgor loss from drought causes overall limp leaves that recover after watering. Vascular pathogens like Fusarium or Verticillium produce patchy wilting where some branches stay firm while others droop. Leaf curling and twisted growth often result from viruses, herbicide drift, or insect feeding by aphids and thrips. When deformation is systemic, suspect a viral issue.
Use a diagnostic approach that gives you useful records. Photograph recurring leaf symptoms from multiple angles. Note how fast spots enlarge and whether stem lesions appear at the same time. Compare younger and older foliage to decide if the problem is localized or systemic.
| Sign | Typical causes | What to check |
|---|---|---|
| Uniform yellowing (chlorosis) | Nutrient deficiency, vascular disease | Soil pH, recent fertilization, check new vs. old leaves |
| Interveinal chlorosis | Iron or magnesium deficiency | Test soil micronutrients, inspect young leaves first |
| Browning at leaf edges | Salt stress, drought, late-stage disease | Watering history, soil salinity, edge progression |
| Fungal leaf spots | Fungi like Septoria, Alternaria | Look for concentric rings, spore bodies, humidity levels |
| Bacterial spots | Bacterial pathogens | Water-soaked halos, greasy sheen, rapid spread after rain |
| Necrotic expanding margins | Active pathogen invasion | Inspect edge activity, adjacent stems for lesions |
| Stem lesions | Cankers, wilt pathogens, mechanical injury | Probe for sunken areas, check vascular browning inside stems |
| Wilting (turgor loss) | Drought, root damage, vascular wilts | Soil moisture, root health, pattern of affected branches |
| Leaf curling and deformation | Viruses, herbicide drift, insect feeding | Look for systemic signs, pests like aphids, recent chemical use |
| Early visual signs overall | Multiple causes | Photograph progression, check multiple plants, compare ages |
Soil and root symptoms that indicate problems
Healthy roots and balanced soil are key for strong plants. A quick soil check can spot early problems before leaves show damage. Look at the soil and roots for signs like poor drainage, compaction, or nutrient stress.
Root rot indicators and how to inspect roots safely
Look for stunted growth, sudden wilting, and yellow leaves that don’t get better with water. Under the soil, check for brown or black, mushy roots with a bad smell. Healthy roots are white and firm.
To check safely, gently loosen the soil with a trowel and look at a few lateral roots. Don’t disturb the root ball too much. Clean your tools with 10% bleach or isopropyl alcohol to stop spreading diseases like Pythium or Phytophthora.
Soil moisture issues and compaction effects
Too much water and poor drainage help root diseases grow. Heavy clay and compacted soils hold water and cut off oxygen to roots. This can slow down growth or cause uneven decline.
Use a screwdriver or probe to check for compaction and feel the soil 2–4 inches deep for moisture. If it’s hard to push in, the soil is likely compacted and limiting root growth. Add compost and coarse sand or use raised beds to improve drainage.
Nutrient deficiency vs. disease — how to tell the difference
Nutrient problems usually show up in a uniform way, like older leaves turning yellow from lack of nitrogen. Disease looks patchy, with lesions, spots, or clear edges. Use tests to confirm if it’s a nutrient issue or disease.
Cooperative Extension labs and commercial kits can help diagnose nutrient shortages. Remember, nutrient stress makes plants weak and more likely to get sick. So, fixing the soil is as important as treating the disease.
Practical prevention steps
Rotate crops, improve drainage, and keep organic matter to lower disease risk. If the soil is heavy or compacted, build raised beds and add compost for healthy roots. Regular soil checks can prevent small problems from getting big.
How weather and environment reveal disease risk
Weather and plant disease are closely linked. You can spot patterns that show which areas in your yard are more at risk. Look for wet spells, long dew, and poor airflow.
Humidity and moisture-related diseases
High humidity and wet leaves are perfect for fungal and oomycete infections. These include downy mildew, late blight, and many leaf spots. Water from sprinklers can spread spores and bacteria between plants.
To reduce humidity disease risk, water at the base. Schedule irrigation for early morning. This shortens leaf wetness and lowers spore germination.
Temperature swings and stress-related symptoms
Rapid temperature changes weaken plant defenses. This makes them more susceptible to pathogens. Some microbes thrive in specific temperatures, like cool, wet conditions.
Keep an eye on local weather forecasts. Protect tender plants with row covers or temporary shade during extreme weather. This helps reduce stress and disease onset.
Microclimates and disease hotspots in your yard
Shady corners, near downspouts, and frost pockets are disease-prone. These areas hold moisture and have poor airflow. They create perfect conditions for disease.
Start by scouting these areas. Prune to improve airflow, move susceptible plants, and fix drainage. This lowers long-term risk.
Seasonal timing is key because many pathogens peak in spring and fall. Use local extension bulletins for timing-specific alerts. Plan inspections around these periods.
| Environmental Factor | Common Risk | Simple Action You Can Take |
|---|---|---|
| High humidity | Fungal leaf spots, downy mildew | Water early, avoid overhead irrigation, space plants for airflow |
| Prolonged leaf wetness | Oomycete outbreaks like late blight | Mulch soil, use drip irrigation, remove infected debris |
| Rapid temperature swings | Stress-related infections, bacterial activation | Use row covers, provide shade, monitor forecasts |
| Shady, poorly drained spots | Microclimate plant problems leading to hotspots | Improve drainage, relocate plants, prune for sun and airflow |
| Spring and fall cool, wet periods | Seasonal peaks in many fungal diseases | Time fungicide or cultural controls, follow extension alerts |
Using a plant disease identification routine you can follow
Keeping a steady plant monitoring routine makes spotting problems early simple and calm. A short daily habit helps you catch new lesions, insect activity, or sudden wilting. A weekly deep check lets you look under leaves, examine stems and root crowns, and test soil moisture with tools like a moisture meter or hand lens.
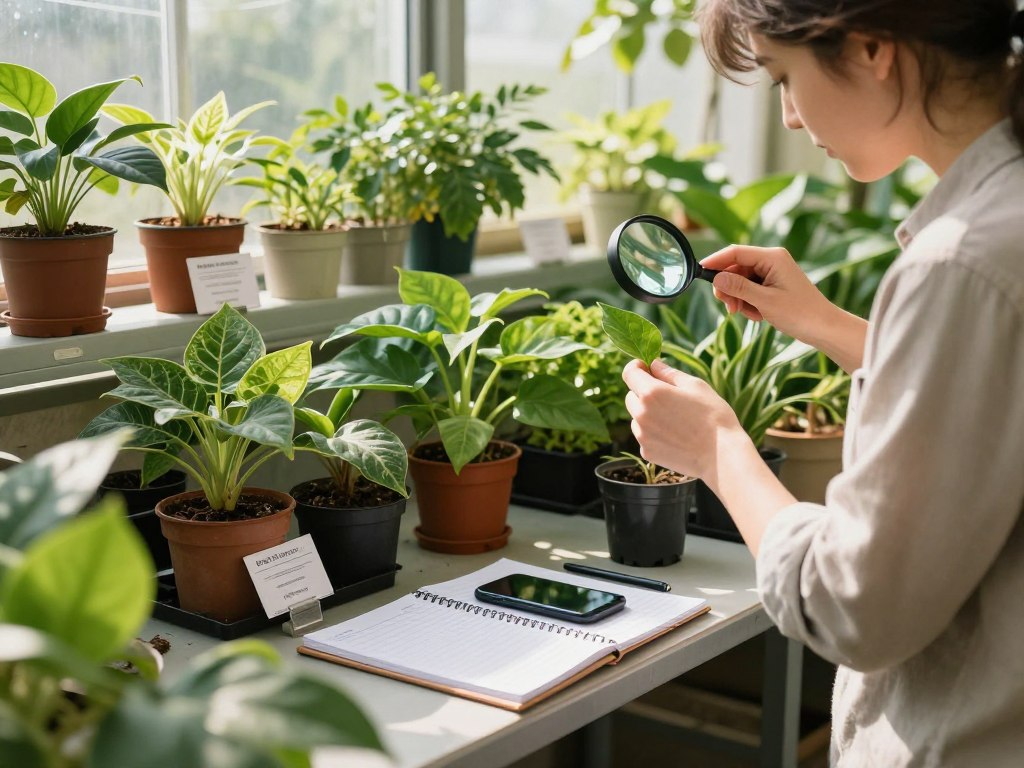
Daily quick checks vs. weekly deep inspections
Do a daily visual sweep when you water or walk past beds. Look for fresh spots, sticky residues, chewed edges, or collapsed leaves. High-value crops need more frequent checks during flowering and fruit set.
Each week spend more time. Part the canopy, lift mulch, inspect root crowns for soft tissue, and check soil near the roots. Record any subtle changes you find so trends become obvious.
What to record: photos, notes, and condition logs
Keep a simple log with date, plant type, weather, symptoms, and actions taken. Use the same angle and distance when you photograph a problem to compare progress. Store entries in a garden notebook or a digital folder organized by bed or plant.
Include quick condition codes like S (spotting), W (wilting), P (pest). These short markers speed review and feed into your garden inspection checklist for each visit.
Tools and apps to help you track plant health
Use tools that match your style. A soil moisture meter, a 10x hand lens, and a basic thermometer give reliable field data. For identification help try iNaturalist for crowd-sourced input, Plantix and PictureThis for symptom suggestions, and USDA or state extension alerts for regional guidance.
Plant health tracking apps speed logging and photo storage. Match app use with a written garden inspection checklist so you maintain consistent entries and avoid missed signs.
Sanitation and habit-building
Clean pruning tools between plants and wear disposable gloves when handling suspect tissue to limit spread. Tie your checks to regular chores like watering or feeding so the routine sticks.
Over time the habit reduces surprises. Your records plus steady use of plant health tracking apps will make diagnosis faster and interventions more precise.
Laboratory and at-home tests for confirming disease
If your plant’s symptoms are unclear or spreading fast, a lab test can help. Places like Cornell or Penn State’s extension clinics and county Cooperative Extension plant diagnostic clinics offer reliable tests. They’re great for identifying pathogens in valuable crops, finding the right treatment, or deciding on quarantine.
To send plant samples, collect several affected pieces that show the problem’s progression. Include roots and soil if you think root disease is involved. Put samples in clean paper bags, label them with date, plant species, and symptoms. Follow the lab’s instructions on how to send samples, fees, and shipping. University labs are often cheaper and offer advice specific to your area.
You can also do simple at-home tests to narrow down the cause before sending samples. A hand lens can help spot spores, fungal growth, and insect eggs. A bleach or potassium hydroxide (KOH) spot test can reveal fungal structures. Use a celery or indicator-plant bioassay for some bacterial or viral suspects. Home soil pH kits and basic nutrient tests can help rule out deficiencies.
When you get lab results, you might find a confirmed pathogen, a probable cause, or an inconclusive result. Labs usually give recommendations, like cultural changes, sanitation steps, or targeted chemicals. Always check these recommendations against your garden’s limits, like organic rules or nearby water, before acting.
If the lab suggests treatment, follow their advice and add simple practices. Remove infected material, improve airflow, adjust watering, and rotate crops. Keep records of tests and treatments to see what works. Use lab feedback to improve future inspections and decide if you need to send samples again if symptoms change.
Identifying pests versus diseases: key differences
When your plants show trouble, it’s important to quickly tell if it’s pests or diseases. Start by closely examining the plant and using a checklist. Look for signs of pests or diseases to guide your inspection.
Start with obvious clues, then look for patterns and progression. Insect damage is often easy to spot with feeding marks or insects present. Fungal and bacterial symptoms follow different paths, affecting how you manage them.
Signs that point to insect damage
Chewing, holes, and notches on leaves are signs of insects. Leaf mining creates tunnels inside leaves. Sap-suckers like aphids leave honeydew, attracting sooty mold.
You might see frass, egg clusters, or adult insects on leaves or stems. Damage often clusters where insects gather. Spotting the pest on the plant is a strong clue.
Symptoms more likely caused by fungi, bacteria, or viruses
Fungal signs include powdery or downy growth and round lesions. Bacterial infections show water-soaked spots and slimy ooze. Viral issues cause mosaics, mottling, and stunted growth.
Watch how symptoms spread over time. Fungal outbreaks often follow wet weather. Bacterial problems ooze in warm, wet conditions. Viral patterns show on new growth and move with insects.
Combined pest and disease scenarios and how to approach them
Insects can spread pathogens. Thrips transmit tomato spotted wilt virus. Cucumber beetles carry bacterial wilt. Treat both the vector and the pathogen when you see both signs.
Start by removing infested tissue and controlling pests. Use cultural steps like sanitation and crop rotation. A combined approach breaks transmission cycles and limits damage.
Diagnostic checklist
- Inspect undersides of leaves, flowers, and new shoots for insects first.
- Note feeding patterns, frass, eggs, and honeydew for insect clues.
- Look for spores, powdery growth, water-soaked spots, or cankers for pathogens.
- Consider recent weather, watering, and nutrition that could favor fungal vs bacterial symptoms.
- Photograph progression and compare to reliable guides before applying treatments.
Common plant diseases in the United States and their early signs
Spotting common US plant diseases early is key to saving plants and stopping their spread. Look for small signs before problems get worse. Early detection lets you treat plants effectively and protect others nearby.
Fungal threats: powdery mildew, rusts, and blights
Powdery mildew starts with small white to gray patches on leaves. These patches first appear on older leaves. They spread in humid weather, even when leaves aren’t wet.
Rusts show as orange to brown spots on the underside of leaves. Look for raised spots on cereal crops and ornamentals. These spots release spores when rubbed, so catching rust early is crucial.
Blights, like late blight on tomatoes and potatoes, start as small dark spots. Early blight shows as concentric rings on leaves and fruit. Remove small lesions and dispose of infected parts to slow the disease.
Bacterial signs: leaf spots and cankers
Bacterial leaf spots have water-soaked edges and irregular shapes. Leaves may look greasy before turning dark. Pseudomonas syringae and Xanthomonas spp. are common causes in many states.
Bacterial canker creates sunken, dark spots on stems and branches. You might see gumming or ooze around these spots. In warm areas, Ralstonia solanacearum causes bacterial wilt, starting with sudden wilting.
Lab tests can help with bacterial canker when signs are hard to spot. Sending samples to a local extension lab can give you accurate diagnosis and treatment advice.
Viral signals: mosaics, stunting, and chlorosis
Plant virus symptoms include mosaic or mottled leaf patterns. Tobacco mosaic virus (TMV) and cucumber mosaic virus (CMV) are common causes.
Viruses also cause distorted growth and flower abnormalities. Interveneinal chlorosis shows as yellowing between leaf veins. Infected plants rarely recover, so removing them is key to preventing spread.
Aphids and whiteflies spread viral infections. Clean tools and choose resistant varieties to reduce risk of virus symptoms in your garden.
Regional notes and practical checks
Late blight spikes in cool, wet summers in the Northeast and Pacific Northwest. Bacterial wilt is more common in warm southern states. Rusts appear widely on cereals and ornamentals across the country.
Check local extension bulletins for outbreak alerts. Regularly scout, photograph suspect symptoms, and keep a short log. This helps you link diseases to weather and seasonal patterns.
Prevention practices to reduce disease risk before symptoms appear
Preventing disease is easier than treating it. Start with simple habits that protect your beds, save time, and improve yields. Focus on clean routines, healthy soil, and smart plant choices to keep problems from taking hold.
Proper watering, spacing, and sanitation
Water at the soil level and avoid overhead irrigation when you can. Early morning watering lets foliage dry during the day and lowers humidity around leaves.
Space plants according to label recommendations to boost airflow and cut down on moisture pockets. Good spacing reduces the chance that a single infected plant will spread disease.
Remove crop debris and dispose of infected material safely. Disinfect pruning shears and trowels between uses to stop mechanical transmission of pathogens.
Resistant varieties and crop rotation strategies
Choose resistant plant varieties from trusted seed suppliers such as Burpee or Johnny’s Selected Seeds when available. Varieties labeled for resistance to Fusarium, Verticillium, or tomato mosaic virus give you a head start.
Rotate plant families in a bed and avoid planting the same family for 2–3 years. For home gardens, shift Solanaceae, Cucurbitaceae, and Brassicaceae crops to reduce soil pathogen buildup and enjoy the crop rotation benefits this practice provides.
Mulching, pruning, and airflow improvements
Apply organic mulch to limit soil splash onto lower leaves. Keep mulch at a proper depth so stems don’t sit in constant moisture that invites rot.
Prune lower foliage and thin crowded growth to increase air movement. Stake or trellis vining crops so foliage stays off the ground and dries faster after rain or watering.
Soil health, seed hygiene, and practical tips
Build organic matter with composted materials and avoid excess nitrogen that encourages tender, disease-prone shoots. Consider beneficial microbes and mycorrhizae to support root health.
Use certified disease-free seed and transplants. Don’t save seed from plants that showed disease. Quarantine new additions before placing them in established beds to protect your garden.
Safe, effective early treatment options you can apply
When you see disease signs, act fast. Use low-impact steps to protect plants and pollinators. Start with simple fixes and remedies before using stronger products. Keep track of what you try and how it works.
Organic remedies and cultural controls
Start with crop sanitation. Remove and destroy infected leaves and debris. Also, get rid of volunteer plants that host pathogens.
Change how you water to reduce leaf wetness. Use drip irrigation or water at the soil line. Prune to improve airflow and open the canopy.
Use organic options when needed. Copper sprays can manage some diseases. Horticultural oils and insecticidal soaps control pests. Baking soda or potassium bicarbonate sprays can fight powdery mildew.
When and how to use fungicides or bactericides
Chemical controls work best at the first sign of disease. Always read labels for timing and concentration. Follow EPA and state rules for the product you choose.
Know the difference between contact and systemic products. Contact fungicides protect new tissue. Systemic fungicides move into the plant and stop infections early. Use broad-spectrum chemicals only when needed and rotate products to avoid resistance.
Integrated pest management approaches
Use an IPM strategy that combines monitoring, cultural practices, and targeted chemical use. Set action thresholds to treat only when necessary. This saves money and protects natural enemies.
Introduce beneficial insects or nematodes where they fit your crop. Practice selective pruning to remove infection sources. Apply treatments precisely to affected areas to limit harm.
Protect pollinators by treating early morning or late evening. Avoid spraying blooms whenever possible. Keep a log of each intervention, environmental conditions, and outcomes. This helps refine your disease control methods and IPM plan over time.
Conclusion
Regular checks are key to early plant disease detection. Inspect leaves, stems, roots, and soil every few days. This way, you catch problems before they spread.
Look for visual signs, test roots when needed, and watch the weather. These steps help you act quickly and keep your garden safe.
Keep a simple routine and have the right tools. Use a camera, hand lens, and basic soil tester to track changes. Document symptoms, isolate affected plants, and try cultural fixes first.
Don’t hesitate to ask for help when needed. Local resources like county Cooperative Extension offices and university plant clinics are great. They offer advice and alerts specific to your area.
With consistent effort and good habits, most problems can be managed early. Use the checklist above, follow the early detection tips, and stay proactive. This way, your garden will flourish season after season.