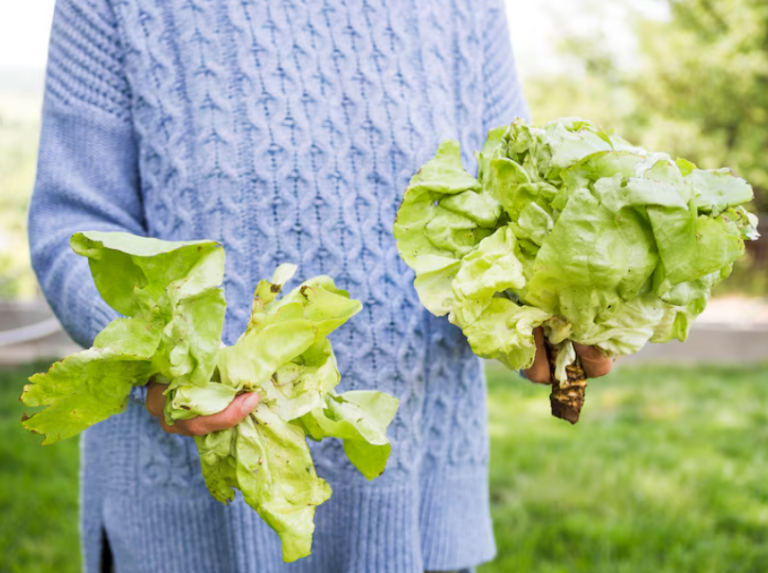
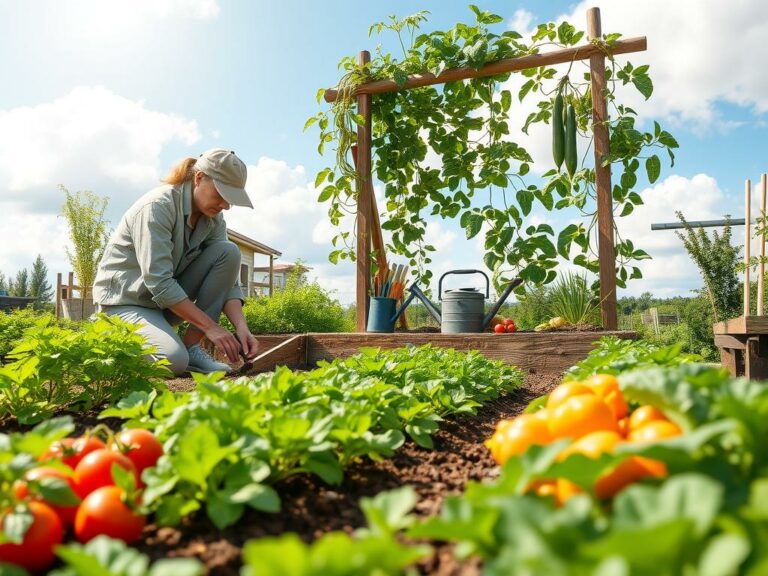
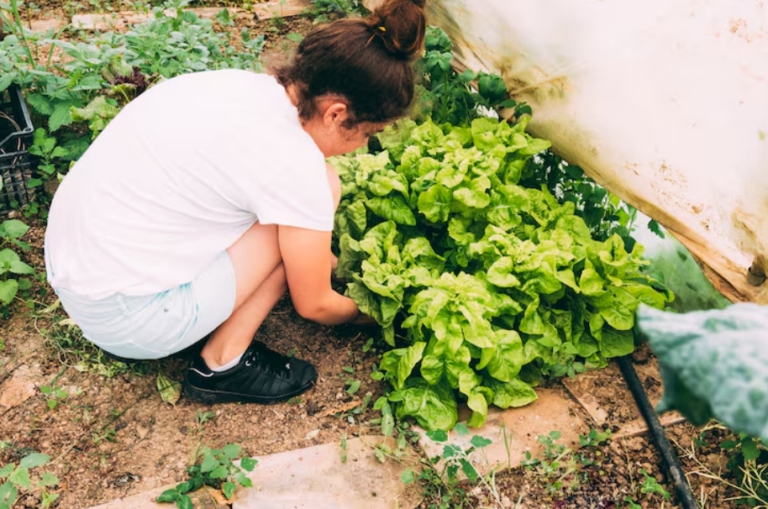
Nearly 80% of Americans live in homes without a large yard. Yet, you can still grow fresh produce on a single balcony. This is the magic of a container vegetable garden.
Container gardening lets you grow veggies in pots, not just in the ground. You can create a thriving garden on your balcony, deck, or even in small apartments and townhomes across the U.S.
With container gardening, you have more control over soil, pests, and water. You also get easier access and can grow food longer than in-ground beds. This guide is for beginners and those with limited space. It’s perfect for anyone in the city who wants to grow food at home.
You’ll learn how to choose the right containers and potting mixes. We’ll cover planting, watering, solving problems, and harvesting. Meta title: “How to Start a Vegetable Garden in Containers.” Meta description: “Discover the joys of growing your own veggies with our guide on how to start a container vegetable garden – perfect for small spaces!”
Why Choose a Container Vegetable Garden for Your Home
Container vegetable gardens bring fresh produce right to your doorstep. You can grow herbs, lettuces, and tomatoes on balconies, rooftops, or sunny windowsills. This makes it easy to have more food at home and reduce trips to the grocery store.
Benefits for small spaces and urban living
Containers make the most of tiny outdoor areas. You can place pots on decks, hang them from railings, or fit them into narrow patios. This way, you get a lot of food from a small space and can move plants to get the best sunlight or shelter.
Control over soil, pests, and watering
You can pick the potting mix, avoiding bad soil and diseases. Sterile mixes and separate pots help you spot pests early. Smaller pots dry out faster, so you can water just right. Use self-watering pots or a drip line for steady moisture.
Accessibility and ease for beginners and gardeners with limited mobility
Raised containers and tabletop planters make gardening easier on your back. They’re great for seniors and those with mobility issues. Starting with containers is affordable and lets you learn quickly, enjoying fast results like fresh herbs and tomatoes.
| Why it Matters | What Containers Provide | Practical Tip |
|---|---|---|
| Space efficiency | Grow more in less space with vertical and movable setups | Use stackable planters or railing boxes to expand capacity |
| Soil and pest control | Choose sterile mixes and isolate affected plants | Keep a small hand trowel and neem oil spray on hand |
| Water management | Adjust watering by pot size and use self-watering designs | Test soil moisture daily until you learn your containers’ needs |
| Accessibility | Raised beds and tables reduce strain | Place pots at waist height for easier planting and harvest |
| Beginner-friendly | Lower cost, faster results, and simpler troubleshooting | Start with basil, salad greens, and cherry tomatoes |
Choosing the Best Containers for Growing Vegetables
Choosing the right pots is key to a good harvest. Think about how each material handles water, weight, and temperature. Pick containers that fit your plants, space, and watering schedule.
Container materials are important. Plastic planters are light, affordable, and keep moisture well, perfect for hot summers. Terracotta and clay are classic and breathe better but dry faster and are heavier.
Fabric grow bags offer great aeration and natural root pruning. Wood planters resist rot and add insulation. You can find them at local garden centers or Best Choice Products for affordable raised boxes.
Container materials: plastic, terracotta, fabric, and wood
Plastic is great for beginners because it’s cheap and holds moisture well. Use thicker, UV-resistant plastics for sun exposure.
Terracotta allows good airflow to roots. You’ll need to water more often in hot weather.
Fabric containers are breathable and light. They’re good for quick-draining mixes and prevent overheating in summer.
Wood offers natural insulation and lasts long if you choose rot-resistant species. Line the inside with landscape fabric to protect the wood and keep soil in.
Size and depth requirements by vegetable type
Match pot size to plant needs. Shallow containers of 6–8 inches are good for herbs and salad greens.
Medium pots, 10–12 inches deep, are best for bush peppers, dwarf beans, and baby carrots.
Deep containers of 12–18+ inches are for tomatoes, eggplants, and larger root crops. For indeterminate tomatoes and bigger potato harvests, use 15–20+ gallon bags or barrels.
| Vegetable | Recommended Depth | Recommended Gallons per Plant | Notes |
|---|---|---|---|
| Lettuce | 6–8 in | 1–3 gal | Works in troughs for multiples |
| Cherry Tomatoes | 12–18 in | 5–10+ gal | Use cages or stakes for support |
| Standard Tomatoes | 16–18+ in | 15–20+ gal | Indeterminate types need largest containers |
| Bush Beans | 10–12 in | 3–5 gal | Compact, space-efficient |
| Dwarf Potatoes | 12–18 in | 10–15 gal | Hill or layer soil for bigger yields |
Drainage considerations and how to modify containers
Good drainage prevents root rot. Every container must have holes for excess water to escape.
If a decorative pot lacks holes, drill through ceramic with a masonry bit or through plastic with a standard drill bit. For wood, use a spade or auger bit.
Avoid piling gravel in the bottom to “improve” flow. That practice can trap moisture at the soil interface. Use a well-draining potting mix and place a square of landscape fabric or mesh over holes to keep soil from washing out while allowing drainage for pots to work correctly.
Use saucers only when you need to protect surfaces. Tip saucers or lift pots slightly on feet if you must avoid standing water. Proper pot selection, correct pot size for vegetables, and careful attention to drainage for pots will keep your container garden healthy and productive.
Picking the Right Location and Light Conditions
Finding the best spot for your containers starts with understanding light. Plants have different needs for light. Some need bright, steady sun. Others prefer a few hours of gentle light.
How much sunlight different vegetables need
Full sun vegetables like tomatoes and peppers need 6–8+ hours of direct sun. Leafy crops and peas do well with 4–6 hours. Shade-tolerant greens like lettuce prefer morning sun and afternoon shade in hot climates.
When planning, check your USDA hardiness zone and seasonal sun angles. These details affect daily sunlight for vegetables and set realistic expectations for yield.
Assessing morning vs. afternoon sun and shade patterns
Observe your site over a typical day to map sun exposure vegetables receive. Use smartphone apps like Sun Seeker or Sun Surveyor for precise tracking. A low-tech option uses paper markers to mark shade lines at different times.
Morning sun is cooler and gentler. Afternoon sun hits harder and can stress tender plants on hot summer days. Afternoon shade often protects young seedlings and leafy greens from heat scorch.
Maximizing light in balconies, patios, and small yards
Place containers on the south or west side of buildings in the Northern Hemisphere for the best results. Use light-colored walls or reflective surfaces to bounce extra light into shady corners. Rotate pots every week to avoid lopsided growth and to equalize sun exposure.
For tight balconies with limited balcony gardening light, pick compact or shade-tolerant crops. Arrange taller pots to avoid casting shade on smaller ones. Mobile planters and wheeled saucers make it easy to follow the sun and adapt to seasonal shifts.
If natural light falls short, consider supplementing with LED grow lights. This maintains steady sunlight for vegetables and extends productive weeks. Small adjustments to placement and timing will often meet container garden light requirements and keep plants vigorous.
Soil Mixes and Potting Media for Healthy Plants
Good potting media makes container gardening simple and productive. Look for a mix that is lightweight, well-draining, rich in organic matter, and near neutral pH (6.0–7.0). A quality commercial blend labeled for vegetables or containers can save time; brands such as Miracle-Gro Potting Mix and Espoma Organic Potting Mix are widely available and formulated to be free of weed seeds and pathogens.
Below are practical formulas and techniques you can use at home. These options help you tailor texture, moisture retention, and nutrients to your crops and container size.
What to look for in potting soil
Choose a potting mix for vegetables that drains well yet holds enough moisture. Organic content feeds plants and improves structure. Avoid garden soil alone; it compacts in pots and can carry pests. Check labels for sterilized or pasteurized blends when you want a cleaner start.
How to create your own container potting mix
Try this simple container potting soil recipe: 1 part high-quality compost or well-aged manure, 1 part coco coir (preferred for sustainability) or peat moss, and 1 part perlite or coarse vermiculite. Mix thoroughly.
Add a slow-release organic fertilizer if you plan longer crops. Use garden lime sparingly to raise pH if a test shows acidity. Coco coir retains moisture and is renewable, while peat moss is lighter but less sustainable.
When and how to refresh or replace potting soil
Top-dress containers between crops with 1–2 inches of fresh compost and a light dose of fertilizer to refresh potting soil. For heavy-feeding vegetables, fully replace the mix every season or every one to two seasons.
If you want to avoid full replacement, remove the top 2–3 inches and add fresh mix plus compost. When disease was present, sterilize reused soil by solarizing it in black bags or gently heat-treating at safe temperatures to reduce pathogens.
Keeping the best soil for pots promotes steady growth and fewer problems. Regular feeding, periodic top-dressing, and mindful replacement extend pot life and boost yields in your container garden.
Choosing Vegetables That Thrive in Containers
Growing vegetables in containers is very rewarding. Choose plants that fit your space, sunlight, and schedule. Quick-growing crops and compact varieties are perfect for small spaces.
Begin with easy plants that don’t mind mistakes. Herbs like basil and parsley grow fast and build your confidence. Salad greens and radishes mature quickly, teaching you about timing.
Cherry tomatoes, peppers, and dwarf cucumbers give real harvests. They don’t need big areas. Look for labels that say patio or dwarf to find the best for your containers.
When mixing plants in pots, think about their needs. Tomatoes and basil work well together. Trailing plants like nasturtiums add beauty and help with pests. Avoid mixing heavy feeders with delicate herbs.
Here’s a quick guide to help you choose and mix plants for small spaces.
| Crop | Container Size | Why It Works in Pots | Good Companions |
|---|---|---|---|
| Lettuce, arugula, spinach | 6–8 inch shallow tray | Shallow roots, quick harvests, continuous cut-and-come-again | Basil, chives, calendula |
| Basil, parsley, chives | 6–10 inch pot | Small root mass, fast growth, useful near tomatoes | Tomatoes, peppers, marigolds |
| Radishes | 6–8 inch pot | Very fast, tolerates crowded sowing, great for succession planting | Lettuce, spinach, nasturtium |
| Bush beans | 10–12 inch pot | Compact habit, fixes nitrogen, reliable yields | Corn substitute on decks: bush herbs like dill, marigold |
| Cherry tomatoes (determinate) | 12–20 inch pot | Determinate or patio types set fruit without tall vines | Basil, marigolds, oregano |
| Peppers (compact varieties) | 10–14 inch pot | Slow-growing, compact fruiting, heat-loving | Basil, chives, parsley |
| Dwarf cucumbers | 12–18 inch pot with trellis | Short vines or patio types need support but save space | Nasturtium, borage for pollinators |
| Container potatoes | 15–20 gallon grow bag or large tub | High yield per volume, limited root spread ideal for deep pots | Marigold on edges, avoid heavy feeders |
When buying seeds or seedlings, look for labels that say patio, dwarf, or container-suitable. This helps you pick the best for your space. Mix different plants to boost yields, keep pests away, and make your containers look great.
Planting Techniques for Container Vegetable Garden Success
Starting plants right is key in small spaces. Use smart container planting methods to fit each plant to its pot, sun, and season. A few steps on starting seeds, spacing, and supporting vines can save time and increase yields.
Seed starting vs. transplanting seedlings
Starting seeds in pots saves money and lets you choose many varieties. Direct sow beans, carrots, and peas where they’ll grow to avoid disturbing their roots. For tomatoes, peppers, and eggplant, start seeds indoors 6–8 weeks before the last frost. Use heat mats and grow lights for steady germination.
Buying seedlings from a trusted garden center like Burpee or starting your own gives you a head start. Harden off transplants over a week by gradually exposing them to outdoor light and wind. This reduces shock before moving them to containers.
Spacing, depth, and timing tips for container planting
Follow seed packet and plant tag directions for planting depth and spacing, adjusting for container size. Thin seedlings to the recommended spacing to prevent competition for light and nutrients. Use only one or two plants in small pots; larger containers can handle clusters or combinations.
Plant transplants at the same soil level they grew in. Tomatoes benefit from planting slightly deeper to form extra roots. Plant warm-season crops after the last frost. Sow cool-season vegetables in early spring or fall, depending on your USDA zone.
Using vertical supports and training vining plants
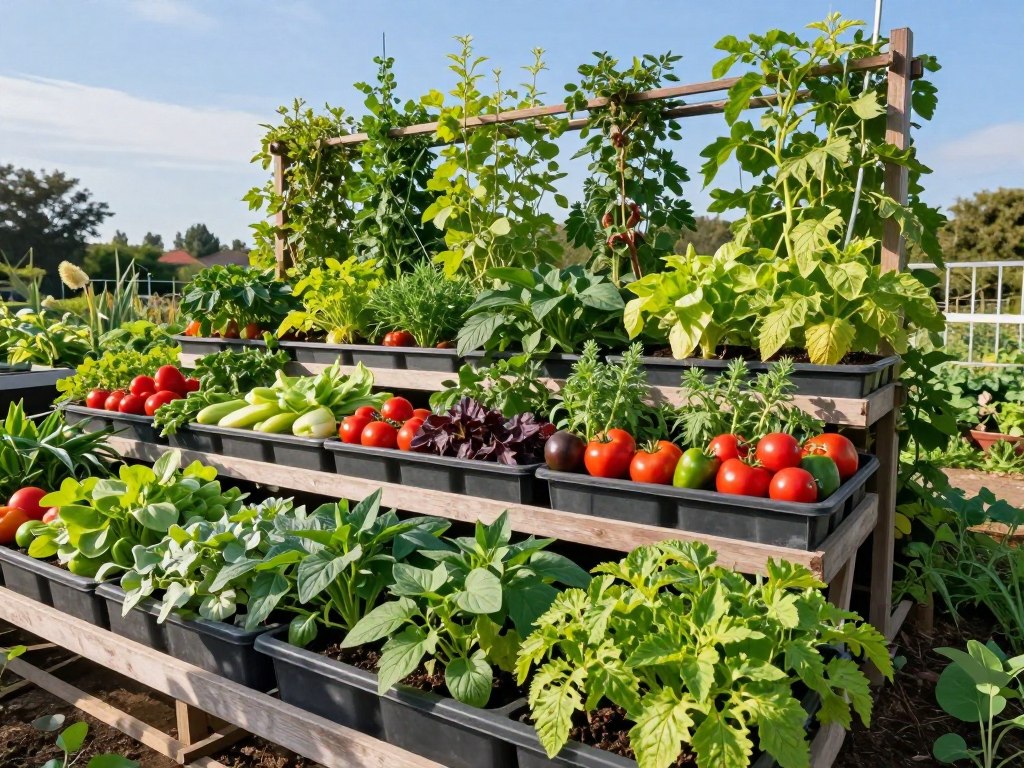
Vertical gardening containers save floor space and improve air circulation. Use lightweight metal cages, removable tomato cages, or trellises for indeterminate tomatoes, pole beans, and cucumbers. For balconies, secure bamboo stakes or attach netting to a railing for extra height.
Train vines by tying stems loosely with soft garden ties or strips of pantyhose. Prune as needed to control the canopy and keep fruit accessible. Remove lower leaves that touch soil to reduce disease risk and focus energy on fruiting.
Quick checklist
- Decide between seed starting in pots or transplants based on crop and season.
- Follow planting depth and spacing on labels; thin crowded seedlings.
- Harden off seedlings before moving them outdoors.
- Choose appropriate vertical supports for your crop and container size.
- Tie and prune gently to train vines and improve harvests.
Watering Strategies and Irrigation for Containers
Water is key for container veggies to thrive. The watering schedule changes based on pot size, material, plant type, and weather. Small pots dry out fast in hot weather, while big ones hold water longer.
Learning simple checks helps keep plants healthy and roots strong. This is crucial for their growth.
How often to water different container sizes and crops
There’s no one-size-fits-all answer for watering pots. Check the soil’s moisture by inserting your finger or knuckle 1–2 inches deep. If it’s dry, it’s time to water. For precision, use a moisture meter.
Small pots, 6–8 inches, might need daily watering in summer. Medium pots, 10–14 inches, might need water every 2–3 days. Large pots, 15+ inches, can go 4–7 days without water.
Heavy feeders like tomatoes and peppers need more frequent checks. Herbs and lettuce need less.
Water thoroughly until water runs from the drainage holes. This encourages deep roots and prevents salt buildup. For rows of containers, drip irrigation keeps moisture even.
Signs of overwatering and underwatering
Spotting stress early saves plants. Overwatered containers show yellow leaves, soggy soil, and wilting. Root rot can occur if water stays at the roots too long.
Underwatered plants have dry, brittle leaves and soil that pulls away from the pot. Wilting with dry soil means it’s time to water. For overwatered pots, let the soil dry slightly and improve drainage. For drought-stressed plants, soak the pot and let excess water drain.
Automatic drip systems and self-watering container options
Automatic systems reduce daily chores and provide steady moisture. Drip irrigation for pots uses emitters or micro-sprinklers to water each container. Add a timer and pressure regulator for uniform watering across a balcony or patio.
Self-watering containers, like EarthBox-style systems, Lechuza planters, or Bloem products, offer a steady water source from below. They reduce the need for frequent watering. DIY wick systems are good for small setups and learning projects.
Reservoir systems can hide root-zone problems and allow salts to build up. Flush containers periodically with a heavy watering. Check roots for health. Use timers for drip lines and a pressure regulator on long runs to avoid uneven output.
| Container Type | Typical Water Interval | Best Irrigation Option | Notes |
|---|---|---|---|
| Small plastic 6–8 in | Daily in heat, every 2 days mild | Hand watering or drip emitters | Dries quickly; check moisture daily |
| Medium fabric 10–14 in | Every 2–3 days | Drip irrigation for pots or wick | Fabric breathes; needs consistent moisture |
| Large terracotta & plastic 15+ in | Every 4–7 days | Automatic drip or self-watering containers | Holds moisture well; heavy plants thrive |
| Self-watering reservoir systems | Refill reservoir weekly to monthly | Integrated reservoirs (Lechuza, EarthBox, Bloem) | Consistent moisture, monitor for salts |
Fertilizing and Feeding Your Container Vegetables
Containers have limited soil. Plants use nutrients quickly. Choosing the right fertilizer is key for growth and harvests.
Types of fertilizers suitable for containers
Slow-release granules like Osmocote provide nutrients for weeks. Liquid fertilizers, such as fish emulsion, offer quick boosts. Organic options include compost tea and bone meal for natural feeding.
How to read fertilizer labels and choose an N-P-K balance
Fertilizer labels show N-P-K ratios. Nitrogen helps leaves, phosphorus roots and flowers, and potassium vigor and fruiting. Start with a balanced mix like 10-10-10. Switch to 5-10-10 when plants bloom and fruit.
Timing and frequency of feeding during the season
Use slow-release granules at planting and follow the label. Add liquid feed every 1–2 weeks during growth. For organic pots, add compost mid-season and compost tea or fish emulsion for quick nutrients.
Practical tips to avoid problems
Follow recommended rates to avoid salt buildup and root damage. Flush pots with extra water to remove salts. Tomatoes and peppers need more attention than herbs or lettuce.
Simple schedule you can follow
- At planting: add slow-release granules per product instructions.
- Every 4–8 weeks: top-dress with compost or reapply granular fertilizer if needed.
- Every 1–2 weeks during bloom/fruit: feed with half-strength liquid fertilizer.
- Monthly: flush pots with extra water to prevent salt accumulation.
Follow these steps for a productive and healthy pot routine. Observe plant response and adjust N-P-K as the season changes.
Common Pests and Diseases in Container Gardens
Keeping your container veggies healthy means spotting problems early. Small spaces can make it hard for natural predators to help. But, containers let you act quickly. Look for signs like sticky honeydew, stippled leaves, webbing, and small holes.
Identifying common pests on container vegetables
Aphids cluster on new growth and leave a sticky film. Whiteflies flutter when disturbed and also leave honeydew. Spider mites cause webbing and a sandblasted look on leaves.
Slugs and snails leave irregular holes and a silvery trail at night. Caterpillars chew large, ragged holes. Flea beetles make tiny, shot-like pits on leaves.
Containers concentrate plant roots, which can stress plants. If the soil dries or stays wet, plants suffer. Stressed plants attract more pests and suffer worse damage.
Natural and organic pest control methods
Start by hand-picking large pests like caterpillars and dropping them into soapy water. Use insecticidal soap or neem oil against soft-bodied insects. For caterpillars, Bacillus thuringiensis (Bt) strains target larvae without harming bees and people.
Encourage beneficials like ladybugs and lacewings by planting basil, dill, or alyssum nearby. Use copper tape or crushed eggshells to deter slugs. Floating row covers exclude many pests during vulnerable stages. Sticky traps help monitor flying pests before infestations spread.
Disease prevention through sanitation and proper watering
Sanitation is key to prevent diseases in potted vegetables. Remove and discard diseased foliage promptly. Sterilize pots and tools after an infected crop to stop recurring problems.
Avoid overhead watering that wets leaves, which reduces powdery mildew and leaf spot risk. Damping-off can kill seedlings in cool, wet conditions. Use fresh, sterile potting mix for seed starting and provide good air flow.
Root rot arises from overwatering and poor drainage. Improve drainage with potting mixes that include perlite or bark and water only when the top inch feels dry.
If cultural steps fail, select fungicides labeled for container use and follow label directions. Rotate crop families between pots when possible to reduce buildup of pathogens and prevent plant disease pots from recurring season after season.
Extending the Season and Crop Rotation in Pots
You can extend harvests and protect plants from chill with simple season extension pots and smart placement. Containers warm faster in spring, which helps early growth, but they lose heat at night. Group pots, place them against a south-facing wall, or use insulating wraps to create a warmer microclimate that will extend growing season containers.
Use cloches, cold frames, and frost blankets to shield tender seedlings from light frosts. Small hoop tunnels and individual pot covers work well on balconies. For nighttime protection, tuck pots together and add straw or bubble wrap around the base to slow temperature swings.
Using cold frames, covers, and microclimates to extend harvests
Cold frames trap daytime heat and release it slowly at night, giving you extra weeks in spring and fall. Frost blankets let light through while cutting wind chill. On rooftops and patios, create microclimates by clustering pots and adding thermal mass, such as a water-filled barrel, to moderate temperature changes.
Succession planting and continuous harvest strategies
Succession planting in pots keeps your table stocked. Sow fast crops like lettuce every two to three weeks for steady greens. When early peas finish, replace them with bush beans or quick summer greens to avoid gaps in production.
After early tomatoes fade, pull the plants and sow a cool-season green such as arugula or spinach. Planning staggered sowings and quick turnovers helps you harvest continuously without leaving soil idle.
Managing soil health and crop rotation principles for containers
Crop rotation in containers reduces disease and pest buildup even when space is tight. Avoid planting another Solanaceae crop immediately after tomatoes. Rotate families, such as moving from brassicas to legumes, to break pest cycles.
Refresh potting mix between major crops by adding compost and organic amendments. A light dose of compost, balanced organic fertilizer, and a mycorrhizal inoculant can restore nutrients and beneficial microbes. Replacing or top-dressing potting mix every season helps maintain vigor in reused containers.
Below is a practical schedule to help you plan season extension and rotation for a single five-gallon pot across a year.
| Season | Crop | Protection/Action | Next Crop (Rotation) |
|---|---|---|---|
| Early Spring | Leaf lettuce | Use cloche; place near warm wall | Summer bush beans |
| Late Spring | Peas | Support with small trellis; frost blanket if needed | Summer tomatoes (in separate pot) |
| Summer | Bush beans | Mulch and water deeply; move to sunny spot | Fall spinach or arugula |
| Late Summer | Tomatoes | Shade in afternoon heat; feed regularly | Cool-season brassica |
| Fall | Spinach / Arugula | Use season extension pots or low cold frame for frost protection | Rest pot: add compost and mycorrhizae |
| Winter preparation | Pot rest and soil refresh | Replace 25–50% of mix; add compost and inoculant | Early spring quick-start crops |
Harvesting, Storing, and Encouraging Continued Production
Harvesting at the right time keeps plants healthy and flavorful. Check seed packets and plant tags for size and color cues. For leafy greens, pick young leaves for tenderness.
Pick peas and beans when pods are full but before seeds bulge. Tomatoes are ready when color is even and they yield slightly to pressure. Taste small samples to confirm peak flavor.
Harvest habits matter. Use clean, sharp pruners to cut tomatoes and peppers. This avoids stem damage. Remove spent flowers and yellowing leaves to redirect energy.
Pinch back indeterminate tomatoes to focus growth on fruiting. These steps help promote more fruiting across the season.
Harvest regularly to stimulate new blooms and set fruit. If you find immature fruit, leave it to finish ripening on the plant unless pests threaten it. Keep pruning tools sanitized between cuts to limit disease spread.
For short-term keeping, store leafy greens in plastic bags with a slightly damp paper towel in the refrigerator. Keep tomatoes at room temperature out of direct sun for best texture and taste. Refrigerate peppers and cucumbers for a few days to a week.
For long-term use, blanch greens and freeze them, can ripe tomatoes or make sauces, and pickle cucumbers for a crisp snack. Dry herbs on a tray or use a dehydrator to extend their shelf life. Label and date jars and bags to track freshness when preserving garden produce.
Below is a quick reference to match common container crops with ideal harvest cues and storage methods. Use it to plan when to harvest container vegetables and how to handle them after picking.
| Crop | Harvest Cue | Best Short-Term Storage | Long-Term Preservation |
|---|---|---|---|
| Leafy greens (lettuce, spinach) | Young, tender leaves; before bolting | Plastic bag + damp paper towel in fridge | Blanch and freeze; quick-pickle some varieties |
| Peas and beans | Pods full and firm; seeds not bulging | Refrigerate in a vented bag for 3–5 days | Blanch and freeze; can or dry for storage |
| Tomatoes | Even color; slight give when gently pressed | Room temperature away from direct sun | Can into sauces; roast and freeze; dry for sun-dried tomatoes |
| Peppers and cucumbers | Firm, glossy skin; size per variety | Refrigerate crisper drawer for up to 1 week | Pickle cucumbers; roast or freeze peppers |
| Herbs | Before flowering for peak flavor | Wrap in damp paper towel and refrigerate briefly | Dry or freeze in ice cube trays with olive oil |
Conclusion
Container vegetable gardening is a great way to grow food in small spaces. Start by choosing the right containers for your plants. Make sure they get enough sunlight and use a good potting mix.
Next, pick vegetables that grow well in pots. Remember to water and feed them often. Keep an eye out for pests and diseases, and pick your veggies when they’re ready.
You can start with a few pots of herbs and lettuce. Then, add more as you get better at it. Make your garden fit your space and your schedule. This way, you can enjoy growing veggies in containers, even without a big yard.
For help, check out local Cooperative Extension resources. Use USDA hardiness zone maps to know when to plant. Buy trusted brands like Miracle-Gro, Espoma, or Smart Pots for your needs.
Keep a journal of what works for you. Try different varieties and enjoy the fresh flavors from your garden. It’s a fun and rewarding way to learn and eat well.